
Last updated November 18, 2026
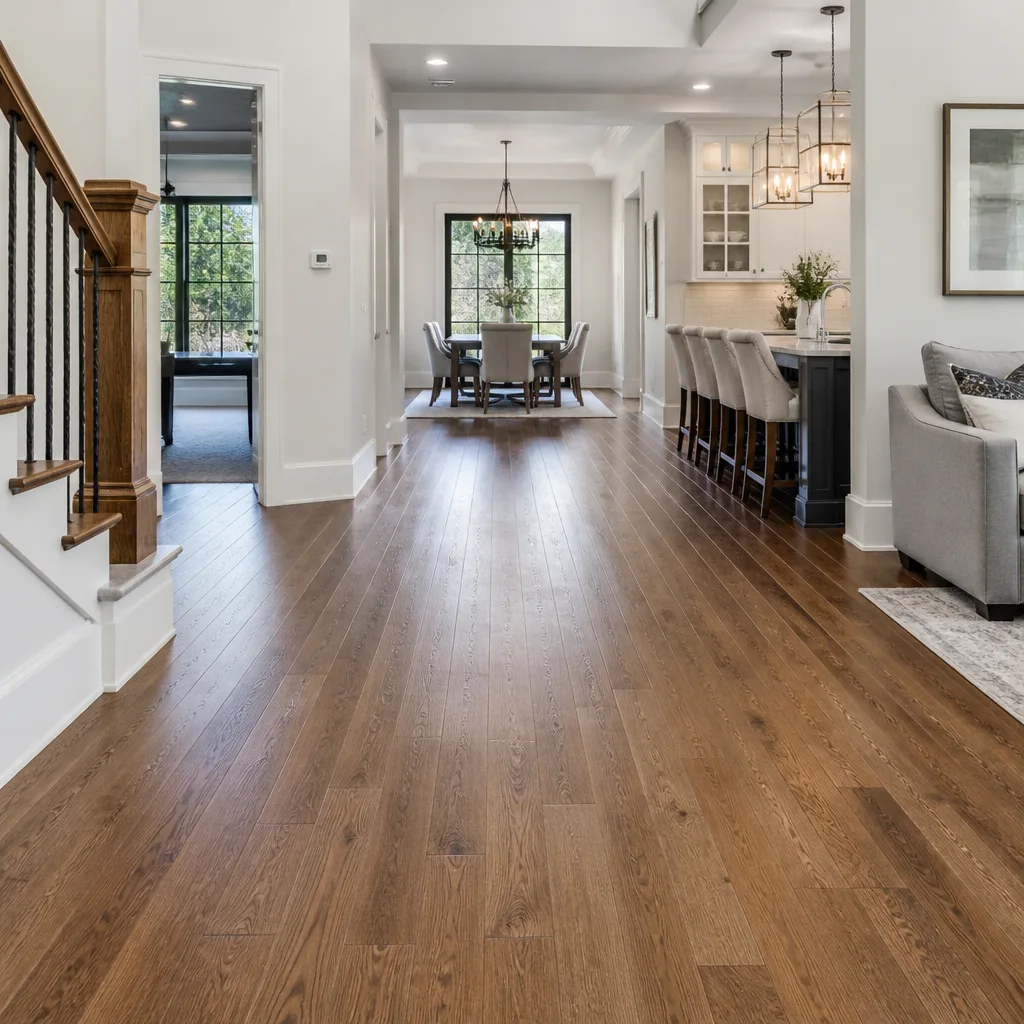 Hardwood
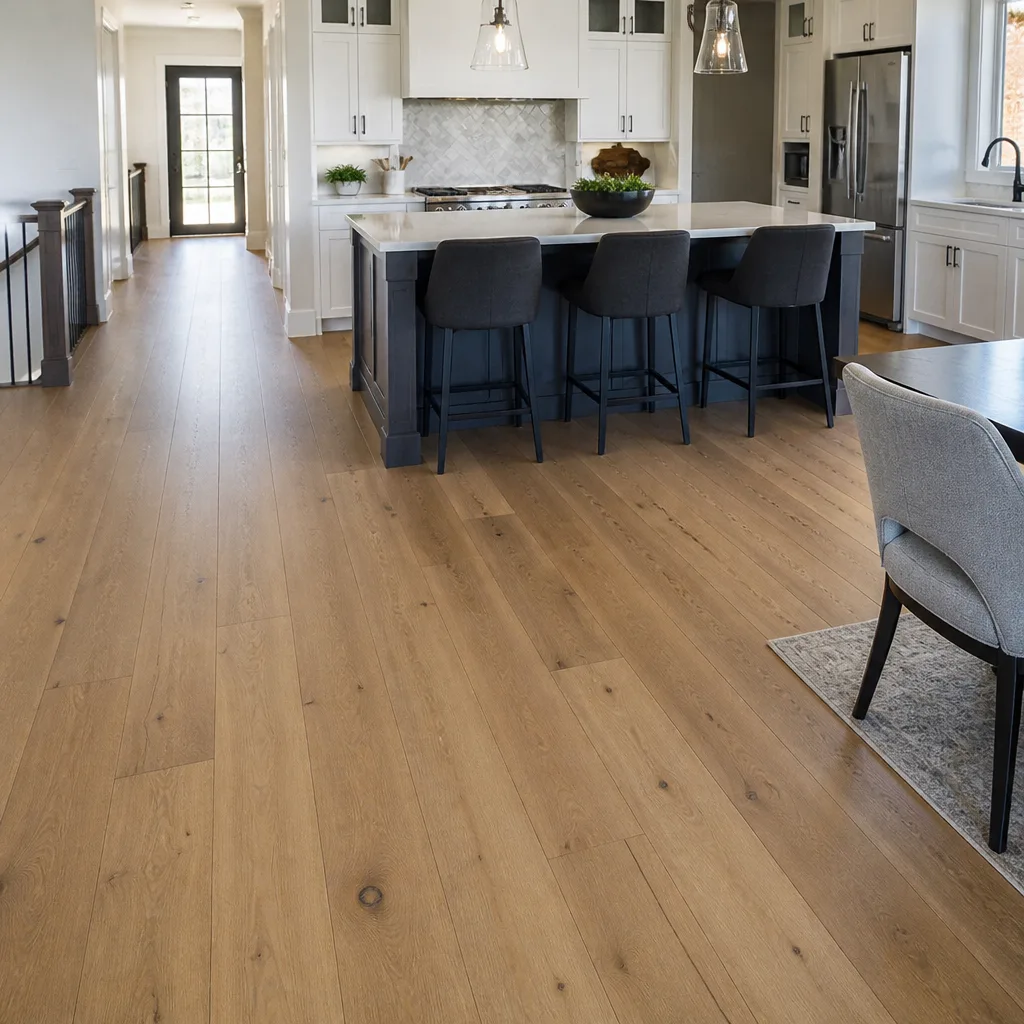 Engineered hardwood
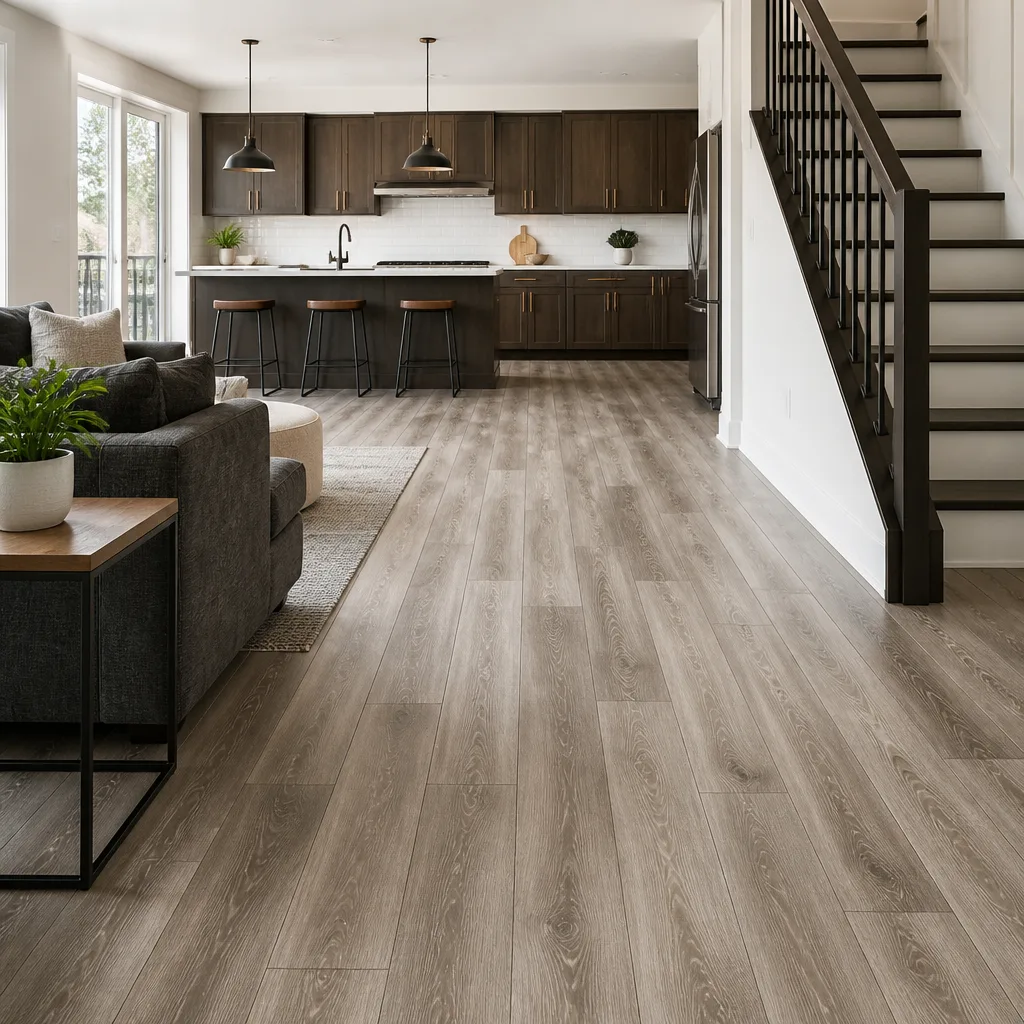 Luxury vinyl plank
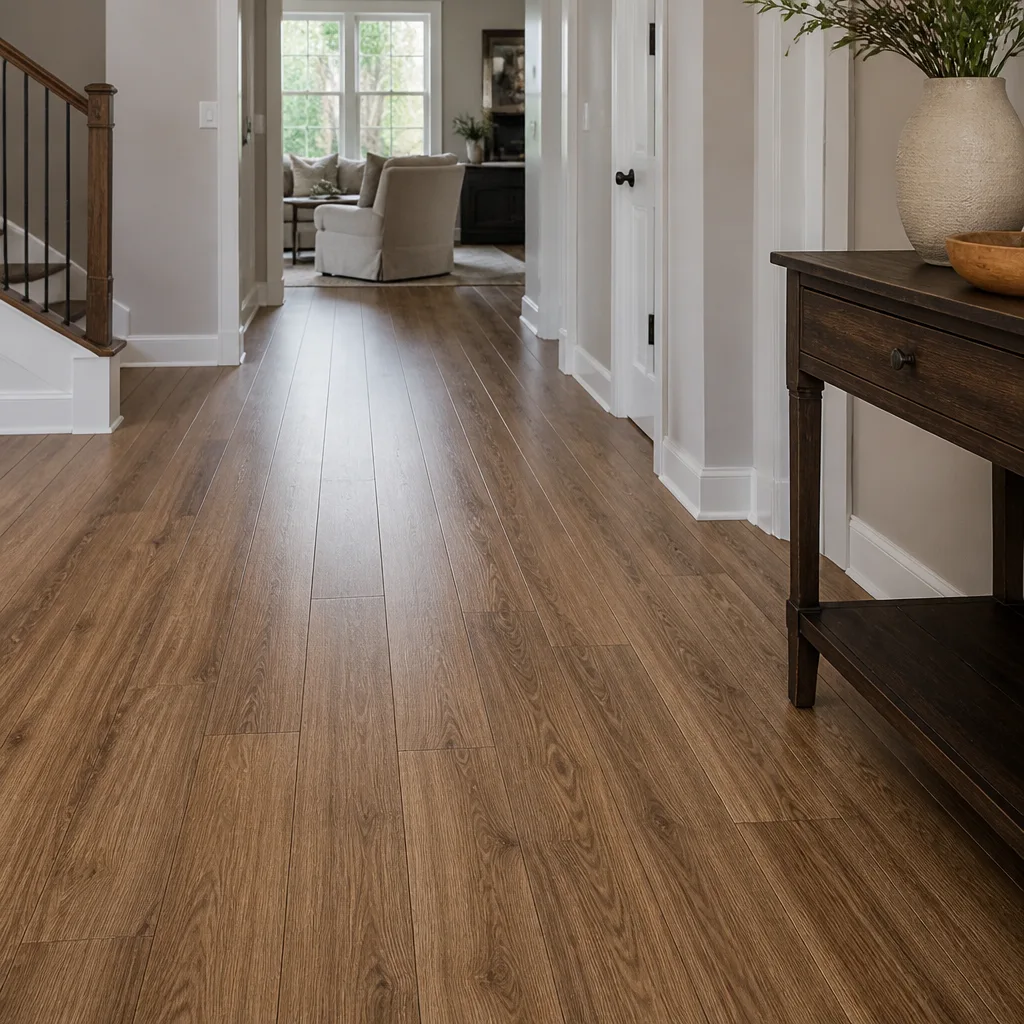 Laminate
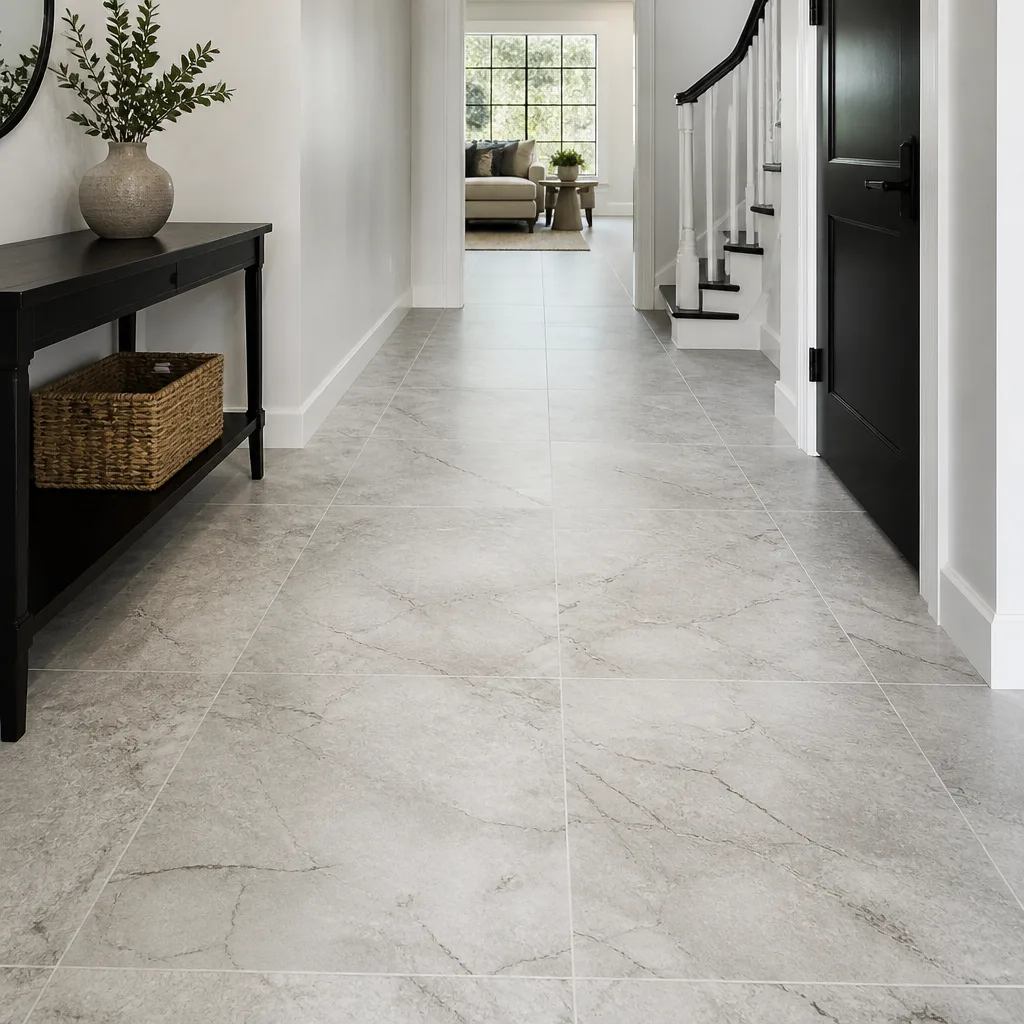 Porcelain tile
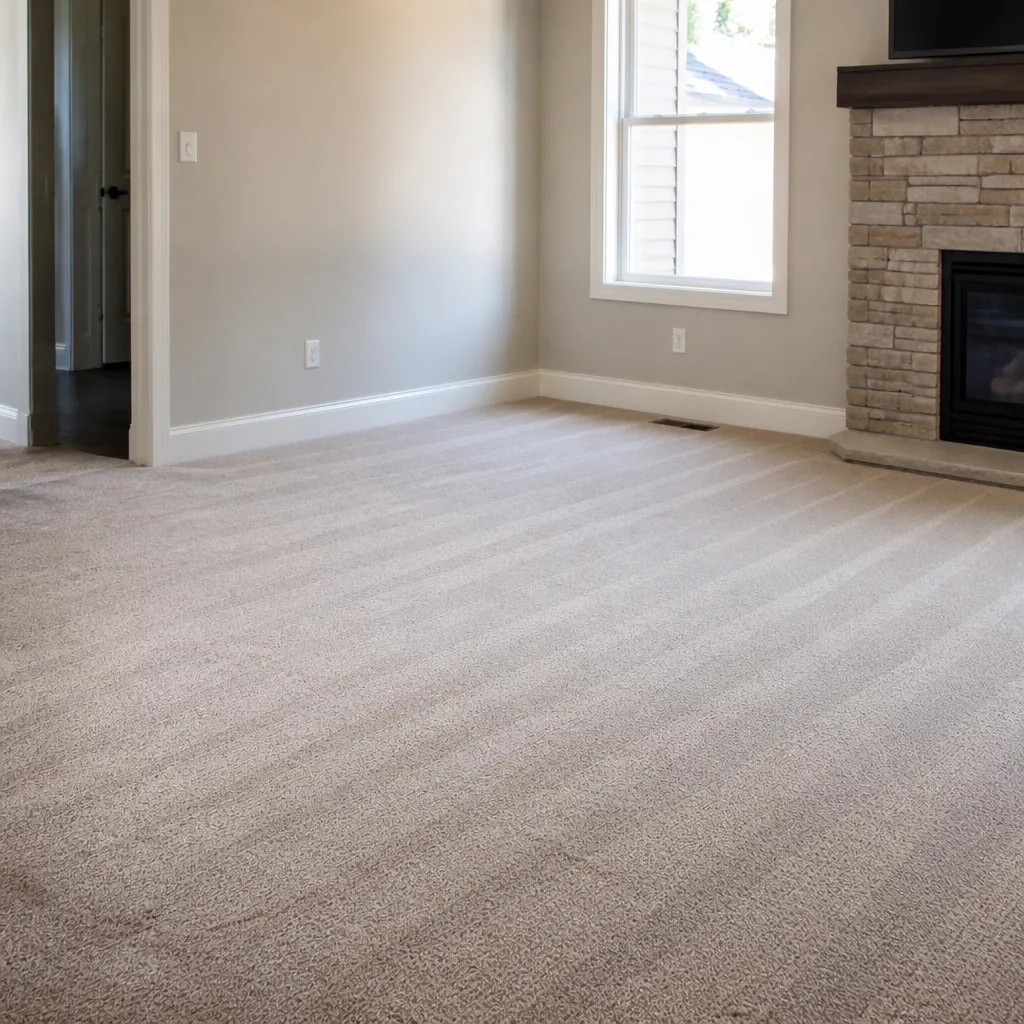 Carpet
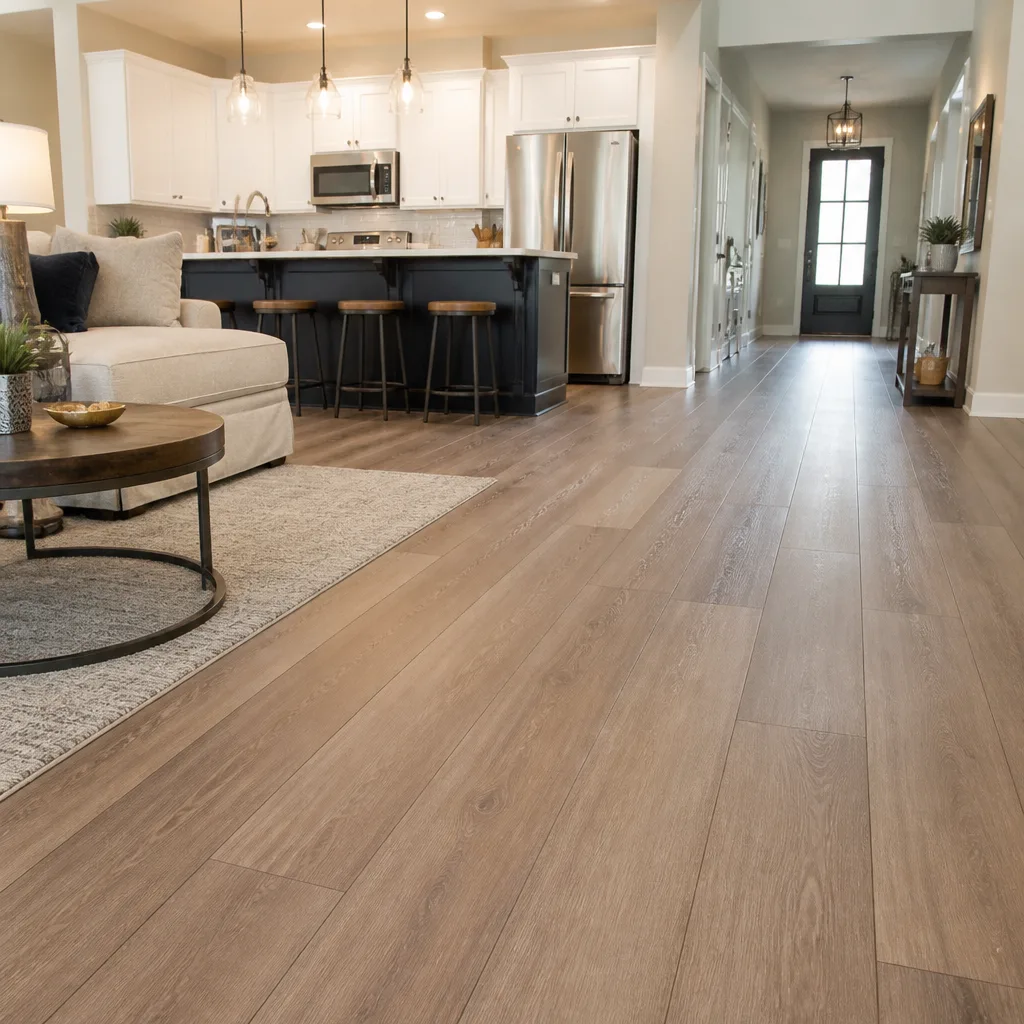 Shaw
 Mohawk
 COREtec
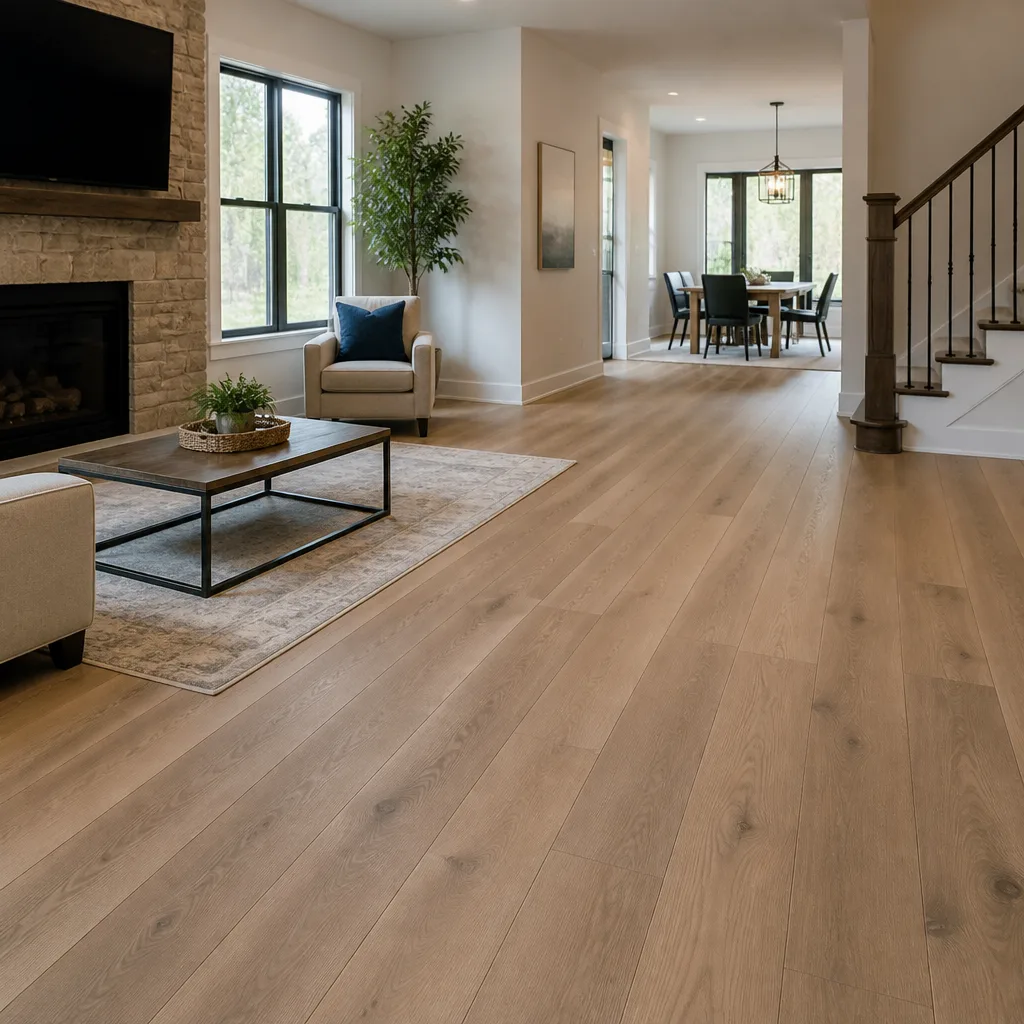 Pergo
Free in-home measure and written estimate: Shaw, Mohawk, COREtec and Pergo lines compared on your own rooms, with carpet, tile, vinyl plank, laminate and hardwood laid out side by side
Get your free estimateHow to Prepare Your Home for a Flooring Installation in Henderson
Most prep guides tell you to move the furniture and call it done. That’s the easy part. The step that decides whether your installation goes smoothly in Henderson happens weeks before the crew shows up: getting your subfloor and your home’s indoor conditions stable. If your HVAC has been running hard all summer and your slab reads warm when materials arrive from a cooler warehouse, luxury vinyl plank can grow before it’s even down. Installers call the result float gap. Homeowners call it a callback. We’ll show you how to avoid it, room by room.
Quick Answer
To prepare for a flooring installation in Henderson, stabilize your home’s temperature and check your subfloor before delivery date arrives. Run your AC at normal living temperatures for at least 72 hours beforehand, test for high spots and soft spots with a simple knee-and-hand check, and document any existing damage with photos. Then handle the room-by-room checklist: clear furniture, protect cabinets in place, and disconnect appliances and toilets. These steps matter more in the desert than almost anywhere else.
Styles & brands we work with
- Hardwood
- Engineered hardwood
- Luxury vinyl plank
- Laminate
- Porcelain tile
- Carpet
- Shaw
- Mohawk
- COREtec
- Pergo
Table of Contents
- Acclimation Rules by Material in Henderson’s Climate
- How to Check Your Subfloor Before the Installer Arrives
- HVAC and Humidity Stabilization: The 72-Hour Rule
- The Room-by-Room Prep Checklist
- Documenting Existing Damage Before Work Starts
- Matching the Floor to the Room
- Your Prep Timeline: What to Do and When
- Common Mistakes to Avoid
Acclimation Rules by Material in Henderson’s Climate
Acclimation means letting flooring materials adjust to the temperature and humidity of your home before installation. In Henderson, that process moves differently than in most of the country. Our summers are dry and hot, our winters mild, and the gap between outdoor conditions and indoor air is wider than almost anywhere else. Materials delivered from a temperature-controlled warehouse into a warm home need time to settle, or they’ll move after installation instead of before.
Here’s roughly how acclimation differs by material:
- Luxury vinyl plank (LVP): LVP is dimensionally stable, but desert heat still affects it. Brands like COREtec and Karndean are engineered for temperature swings, yet they still need to sit in your home at normal living temperature before going down. Skip it and planks can gap or lift at the seams within the first season.
- Hardwood: Solid and engineered hardwood are the most sensitive to humidity. Henderson homes run dry in summer and more humid in the monsoon months, so wood needs to reach equilibrium with your indoor air. This is why we always confirm acclimation timing at the estimate, not on delivery day.
- Laminate: Laminate from Pergo and Armstrong needs the same temperature stability as LVP. Because it floats over an underlayment, any movement in the panels shows up as uneven seams or a hollow sound underfoot.
- Carpet and tile: These aren’t acclimated the same way, but carpet should be unrolled and settled before stretching, and tile should be at room temperature when set. Both are far more forgiving than wood or vinyl.
The exact acclimation window depends on the product and your home’s conditions, and it’s printed in the manufacturer’s instructions. We set the schedule at the estimate so your material and your install day line up. For homes across Henderson, that timing is often the difference between a floor that feels solid for years and one that needs a callback.
How to Check Your Subfloor Before the Installer Arrives
You can find most subfloor problems yourself with a knee and a hand. Press one knee into the floor every few feet across the room and feel for movement or a hollow give. Then run your hand flat across the surface to feel for high spots, low dips, or a slight rise at a seam. This simple test surfaces the large majority of issues, and knowing about them before the crew arrives saves everyone a conversation later.
Here’s how to work through it:
- Kneel and test for soft spots. Press a knee into the floor at regular intervals across each room, especially near doorways, in front of appliances, and along walls. A spongy feel or a slight bounce means the subfloor may need repair before a new floor goes down.
- Run your hand for high and low spots. A high spot will telegraph through vinyl or laminate as a visible bump. A low spot causes a hollow sound and premature wear.
- Check the perimeter for moisture. Look along exterior walls and around plumbing for staining, soft drywall, or a musty smell. Moisture from below or from a leak has to be fixed before any new floor goes in.
- Look at transitions. Check where the floor meets door thresholds, closets, and stairs. Uneven transitions are a sign the subfloor has shifted or settled.
- Write down what you find. Note the location of every soft spot or high spot so you can flag it at the estimate.
Henderson homes sit on both slab and raised foundations, and older neighborhoods tend to show more settling than newer construction. Slab moisture is a real factor here, and it’s something we check at the estimate rather than assume. If you’d like us to look, Floors Henderson is where to start.
HVAC and Humidity Stabilization: The 72-Hour Rule
Run your AC at normal living temperatures for at least 72 hours before materials are delivered. This is the single most overlooked prep step in Henderson, and it’s the one that most directly affects how your floor performs. When flooring arrives from a cooler warehouse into a warm home, it needs to reach equilibrium with your indoor air. The bigger the gap, the more movement there is to accommodate.
Why does the desert make this worse? Henderson summers push indoor cooling systems to their limit. A slab that’s been baking in the sun can hold heat well into the evening. If your floor material is dropped into a room that’s working hard to cool down, it experiences that temperature swing as stress. Wood and vinyl both respond to it.
Here’s what to do in the three days before delivery:
- Set your AC to the temperature you actually keep the house at, not a temporary high or low setting.
- Keep windows and exterior doors closed during this window so indoor humidity stays stable.
- Don’t run a dehumidifier or humidifier in the rooms being floored unless you normally do.
- Leave interior doors open so air circulates evenly through the rooms that will get new flooring.
If your home has a room that runs noticeably hotter or cooler than the rest (a west-facing room is common in Henderson), say so at the estimate. We’ll factor it in. For rooms that will get carpet installation, the temperature stability matters less than it does for hard surfaces, but it still helps the carpet settle before stretching.
The Room-by-Room Prep Checklist
Once temperatures are stable and the subfloor is checked, work through the rooms methodically. Some things move out, some get protected, and some stay right where they are. Here’s what each type of room needs.
Living rooms and bedrooms
- Remove all furniture, rugs, plants, lamps, and wall decor that sits low.
- Clear closets if flooring will run into them, and empty the closet floor.
- Take down curtains or blinds if they hang near the floor.
- Remove anything from walls that could fall during the work.
Kitchen
- Empty lower cabinets and clear countertops if the install touches under-appliance areas.
- Disconnect and move the refrigerator to a protected spot outside the work zone.
- Move the stove and dishwasher only if your estimate calls for flooring under them. Otherwise they stay.
- Shut off the water supply to the sink before any subfloor work near it.
Bathrooms
- Remove the toilet if tile is going down around it. The estimate will confirm this.
- Take out the vanity only if the plan calls for it. A vanity can often be protected in place.
- Clear the floor of mats, bins, and laundry baskets.
Kitchens, cabinets, and appliances that stay
- Base cabinets usually stay. They get protected with paper or plastic sheeting.
- Appliances that stay in place get moved a few inches and protected, not removed.
- Confirm in writing which items stay and which move, so there’s no confusion on the day.
For tile flooring installation, expect a bit more disruption around toilets and thresholds, since tile needs a solid setting bed. Carpet rooms come together faster and with less prep.
Documenting Existing Damage Before Work Starts
Take dated photos of every room before the crew arrives. That’s the simplest way to protect both sides from a disagreement about who caused a crack, a scuff, or a chip. Look closely at baseboards, door casings, drywall corners, and thresholds. These are the spots most likely to show pre-existing wear that could be blamed on the install weeks later.
Here’s what to photograph and note:
- Baseboards and trim. Photograph any existing cracks, dents, or chipped paint, and note the location.
- Door casings and frames. Undercut casings are common during flooring, so document their current condition.
- Drywall near the floor. Look for scuffs and hairline cracks in corners.
- Existing floor damage. Note any warped planks, cracked tile, or worn carpet – this may affect the install plan.
- Thresholds and transitions. Photograph the seams between rooms.
If your existing hardwood has damage you want addressed, a refinishing plan may be worth considering. Restoring what you have is often smarter than replacing it, and we can tell you at the estimate whether the wood has enough thickness left to refinish. Send the photos to your installer before the work begins, not after. Clear communication up front prevents the awkward conversation later.
Matching the Floor to the Room
Prep is half the job. The other half is choosing a floor that fits the room it’s going in. A bathroom and a bedroom have very different demands, and in Henderson’s climate, the material choice should reflect both the room and the household. We carry options from Shaw, Mohawk, Daltile, and more, so we can match the floor to the room rather than pushing one product across the whole house.
Here’s how we think about room-by-room selection:
- Bathrooms, laundry, and kitchens: Tile from Daltile handles moisture and traffic well. Luxury vinyl plank from COREtec or Karndean is water-resistant and forgiving, which matters in rooms that see splashes and spills.
- Bedrooms and closets: Carpet from Shaw or Mohawk gives warmth and a quieter feel underfoot, which is why it’s still the most common choice for bedrooms.
- Living rooms and hallways: Hardwood or a hardwood-look vinyl gives a consistent look and holds up to daily traffic. Karndean’s premium LVP lines are popular for design-led spaces.
- Whole-home re-floor: Running different materials in different rooms with one installer keeps the transition details clean and the timeline coordinated.
We match the floor to the room because one material rarely suits an entire home. A flooring-only focus means the selection guidance comes with the install, not as an afterthought. If you want to talk through material choices for a whole-home project, that’s part of the free estimate conversation.
Your Prep Timeline: What to Do and When
Prep doesn’t happen the night before. Here’s a simple schedule that keeps the project calm and on track, starting a few weeks out and running through installation day.
- Two weeks before: Book your free in-home measure and estimate if you haven’t. Confirm your product choice and the install window.
- One week before: Walk the rooms and note furniture, closets, and appliances in each. Decide what moves and what stays. Schedule help for heavy items.
- Three to four days before: Start running the AC at normal living temperatures. Close windows. Do the knee-and-hand subfloor check and write down anything you find.
- Two days before: Photograph existing damage in every room. Clear small items, decor, and closet floors.
- One day before: Move or disconnect major appliances as directed. Shut off water supplies where needed. Clear the path for materials delivery.
- Day of: Keep HVAC set to normal living temperature. Make sure someone is on hand for access questions. Confirm which cabinets stay and protect pets and children away from the work zone.
- After install: Follow the product’s care instructions and let the floor settle before moving heavy furniture back. Ask at the estimate how long a typical install takes for your scope.
If a question comes up mid-prep, call (844) 972-2185. We answer 24/7, and a quick answer beats a guess.
Common Mistakes to Avoid
- Skipping acclimation. Dropping materials into a warm home the day of install is the fastest way to get gaps and lifting. Let them sit in normal indoor conditions first.
- Not stabilizing the HVAC before delivery. A hot home and cool materials fight each other. Run your AC at normal temperatures for 72 hours before delivery, not the day of.
- Assuming the subfloor is fine. The knee-and-hand check takes five minutes and catches most soft spots and high spots before they become install-day surprises.
- Moving cabinets that should stay. Base cabinets usually stay and get protected. Removing them adds cost and coordination you probably don’t need.
- Forgetting photos of existing damage. A dated picture of that baseboard scuff saves an uncomfortable conversation weeks later.
- Choosing one material for every room. A single floor type rarely suits a bathroom, a bedroom, and a living room equally well. Match the floor to the room instead.
- Leaving the timing vague. Confirm your install window and the acclimation schedule at the estimate so material and install day line up.
See the difference
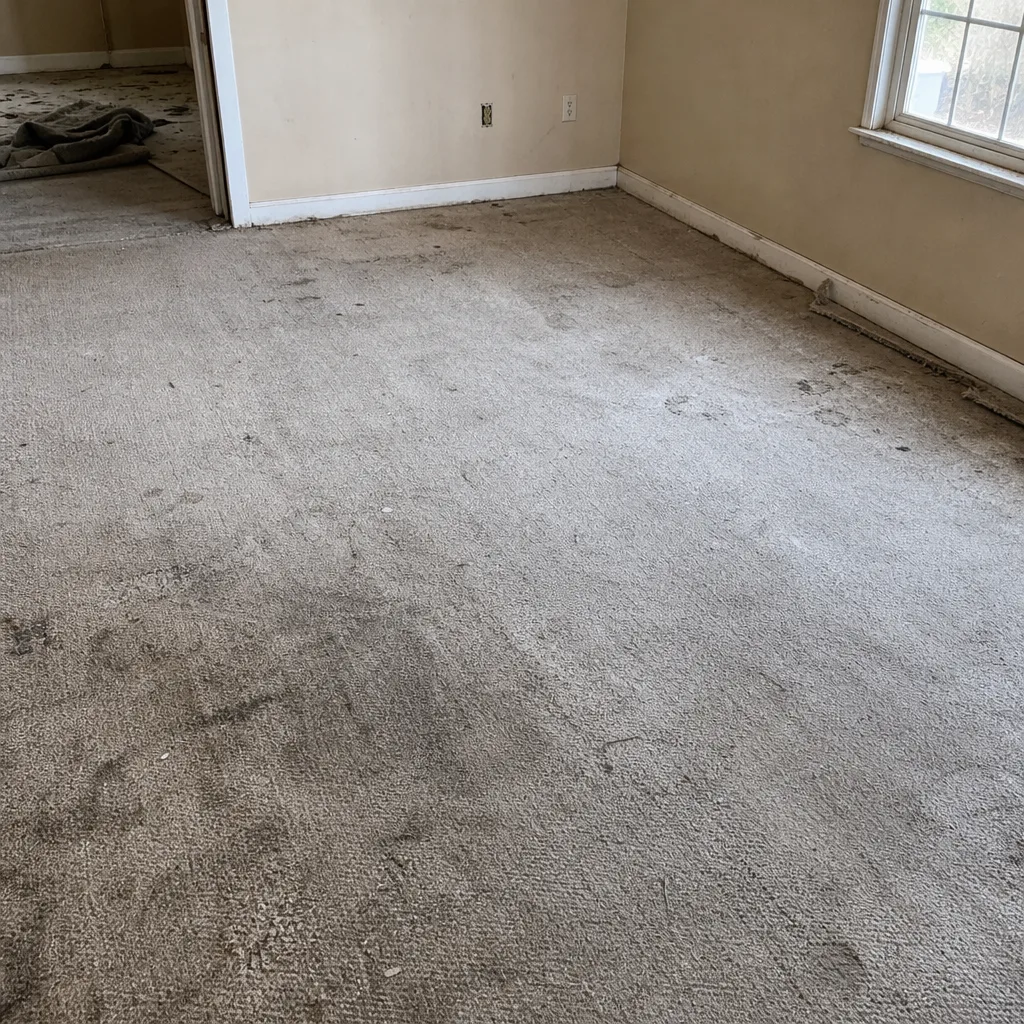 Before
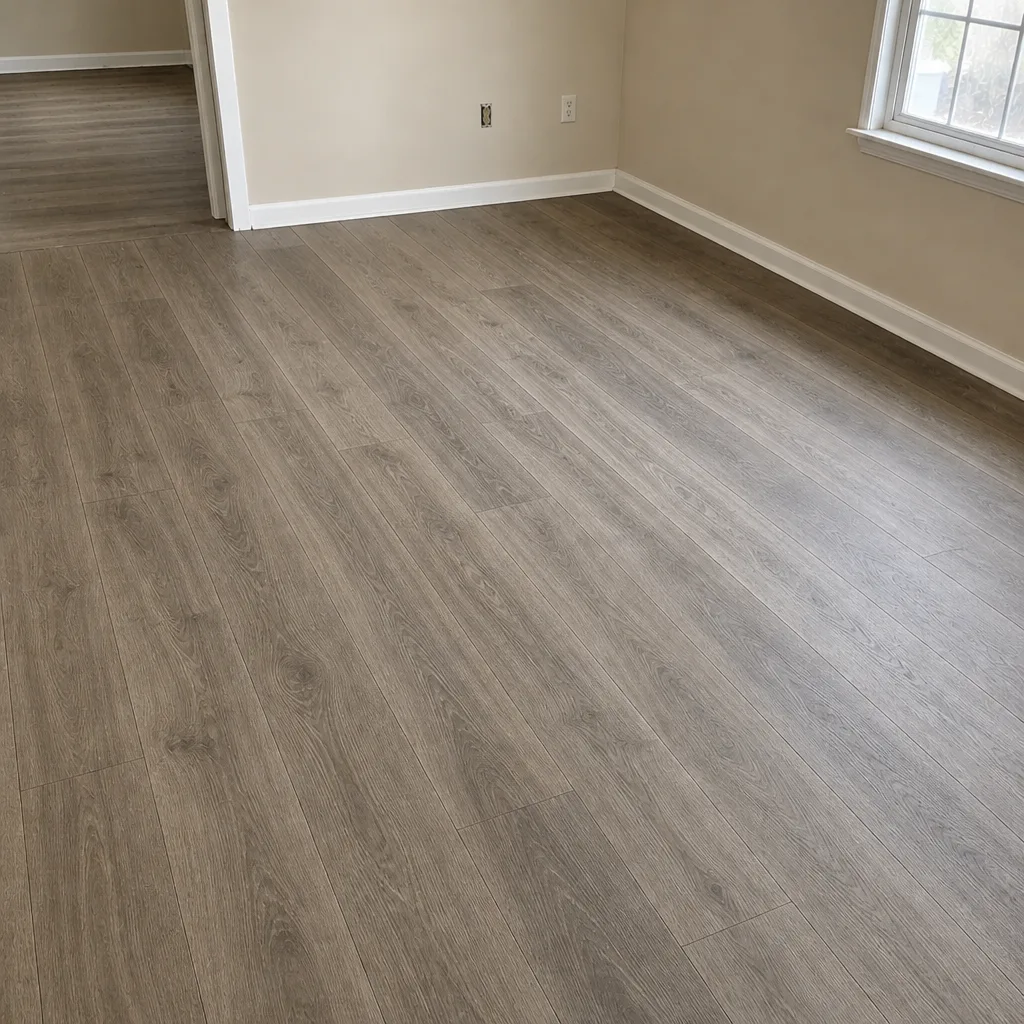 After
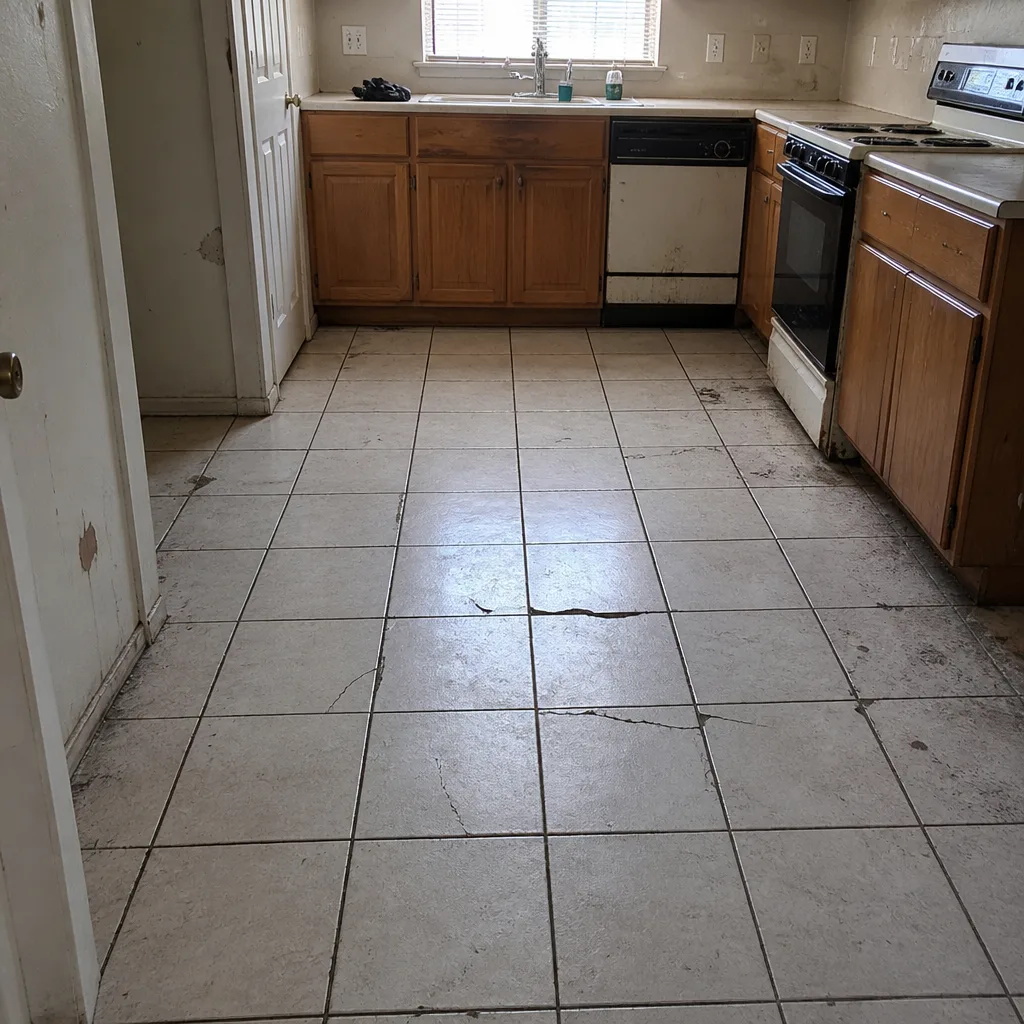 Before
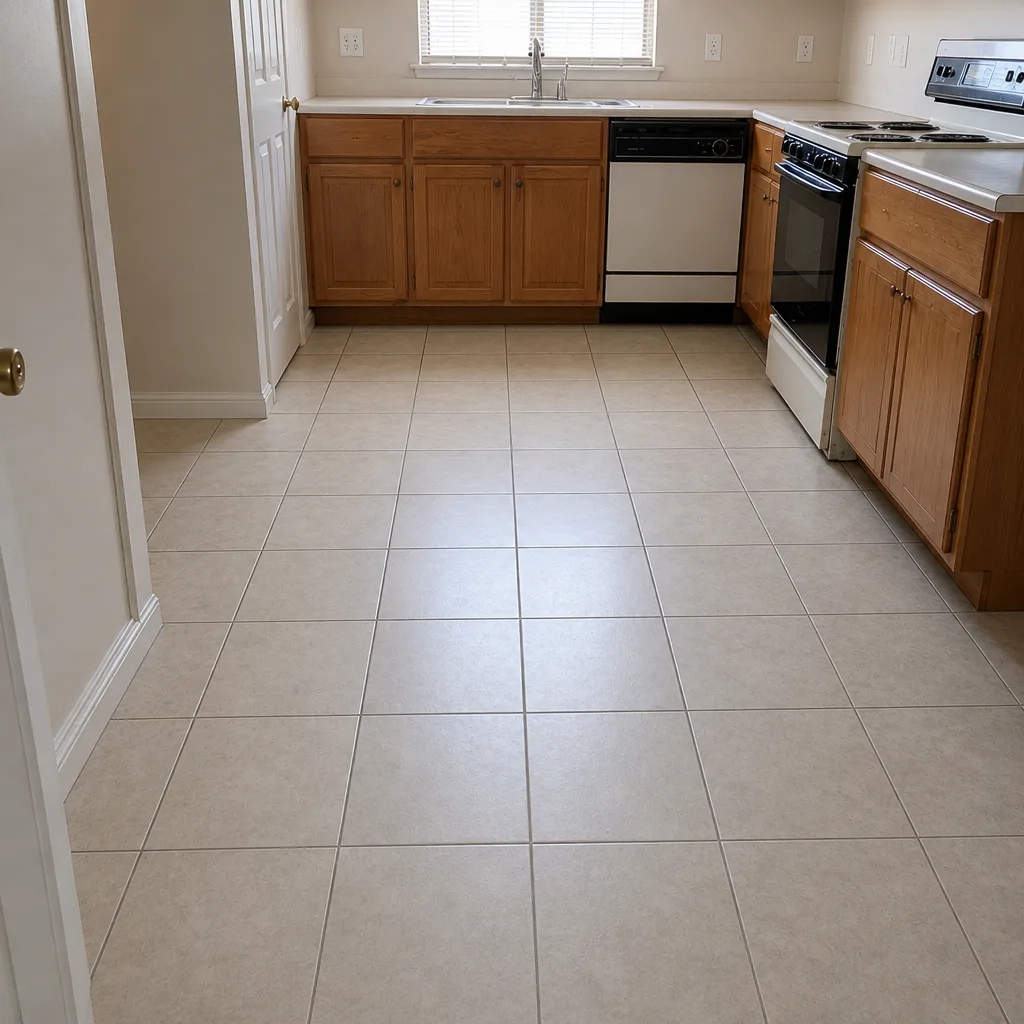 After
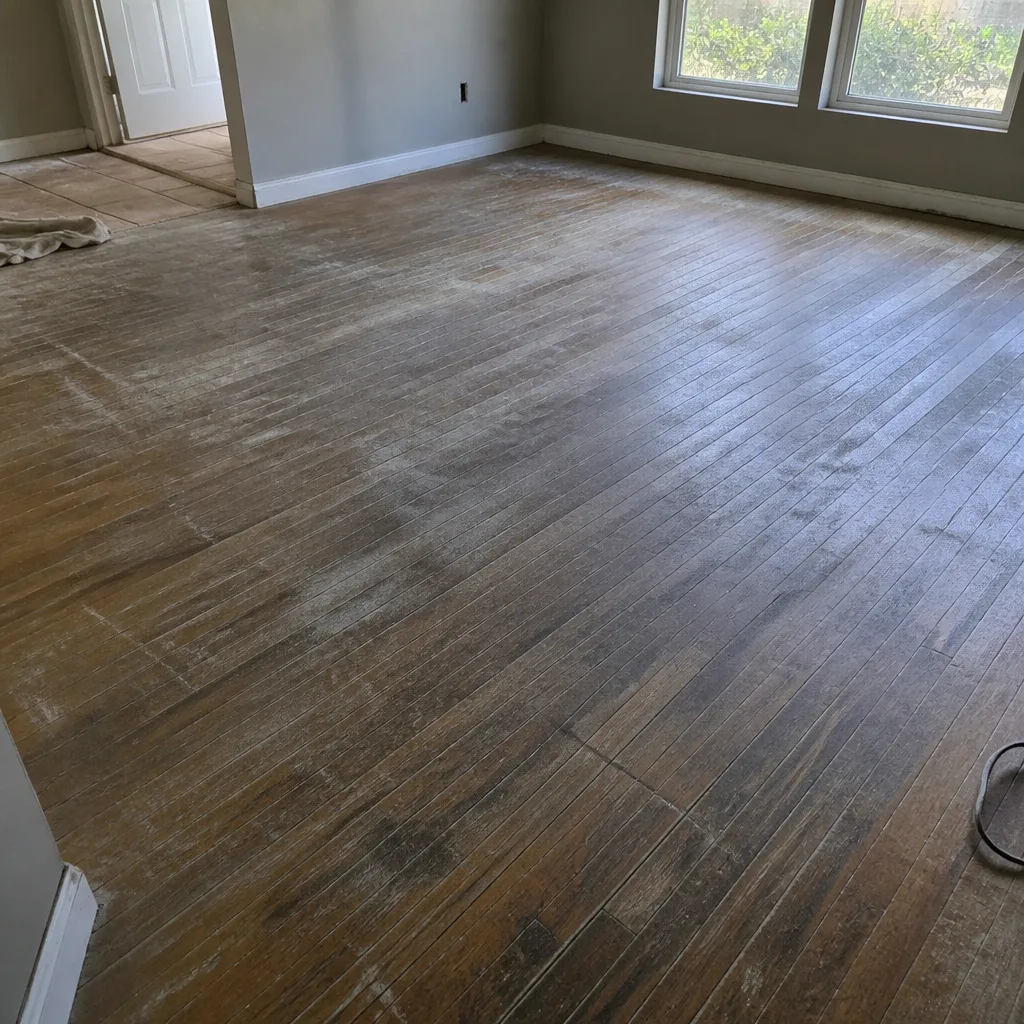 Before
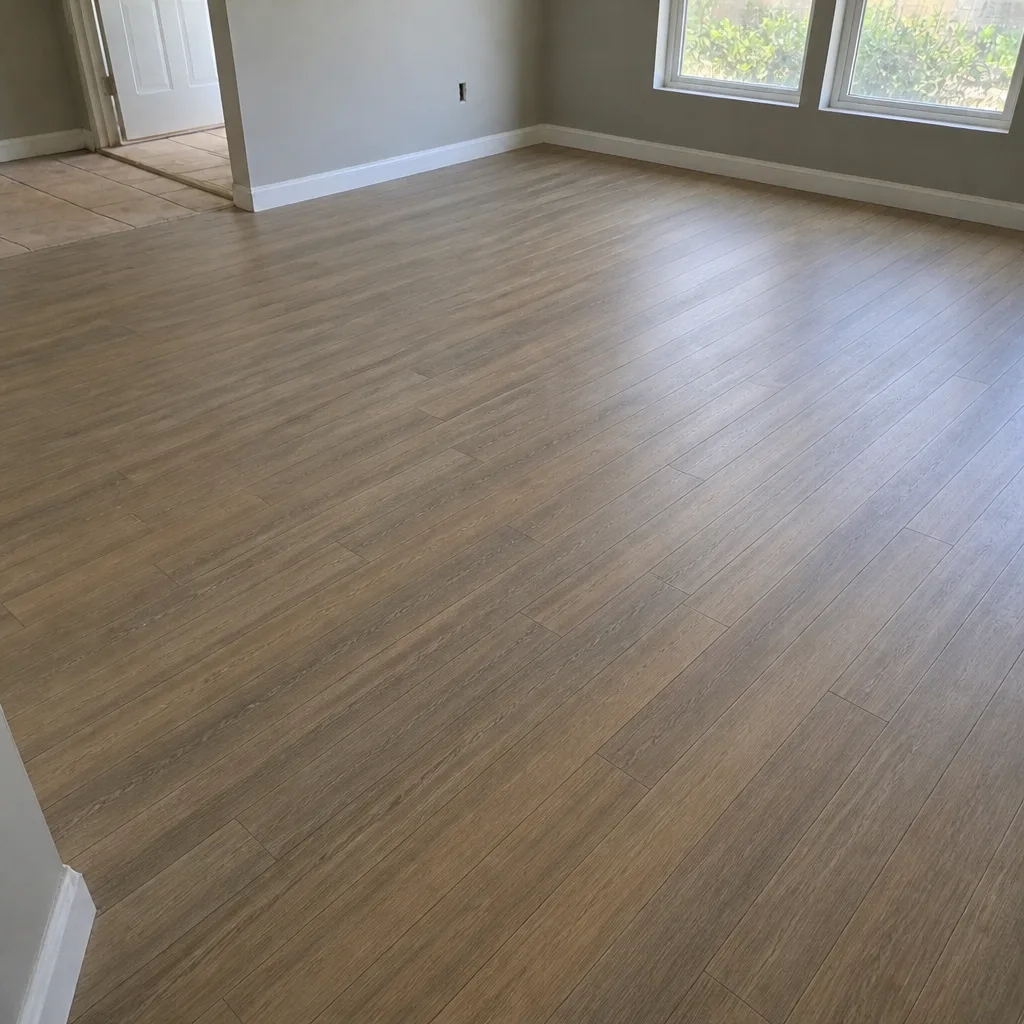 After
When to Call a Professional
Some prep you can do yourself: clearing rooms, moving furniture, running the AC, taking photos. Other situations call for a pro before you touch anything. If your knee-and-hand check finds soft spots, uneven transitions, or a subfloor that feels spongy, let a professional assess it. If you see water staining along exterior walls or around plumbing, stop and call. If your existing hardwood has enough thickness to refinish, a specialist can tell you whether restoration makes more sense than replacement. And if you’re re-flooring more than one room with different materials, coordinating it yourself is more work than it’s worth.
Floors Henderson offers free estimates in Henderson. Call (844) 972-2185 to schedule yours. We answer 24/7, with fast dispatch from 7am to 7pm, Sunday through Friday. We’re closed Saturday.
Frequently Asked Questions
It depends on the material and your home’s conditions, and the exact window is printed in the manufacturer’s instructions. LVP and laminate from COREtec, Karndean, Pergo, and Armstrong usually need less time than solid hardwood, but desert temperature swings still affect all of them. We set the acclimation schedule at your free estimate. Call (844) 972-2185 for an exact quote – estimates are free.
Yes, for most rooms. Furniture, rugs, plants, and low decor should be out of the work zone before the crew arrives. Heavy items like refrigerators and stoves may need to move depending on your estimate, so confirm which appliances move and which stay. Base cabinets usually stay and get protected in place.
Sometimes the existing subfloor is sound and ready, and sometimes it needs repair before installation. Your knee-and-hand check and ours at the estimate will tell. Soft spots, high spots, and moisture along exterior walls all need attention before a new floor goes down. Call (844) 972-2185 for an exact quote – estimates are free.
Make sure the AC has been running at normal temperatures, clear the floor completely, and plan for the toilet to be removed if your estimate calls for tile around it. The vanity often gets protected in place. Tile from Daltile handles bathroom moisture and traffic well. Confirm the exact prep list at your free estimate.
It depends on the thickness of the wood and its condition, which we check at the estimate visit. Refinishing restores what you have and preserves the original character, while replacement is the call when the wood is too thin or too damaged. We won’t promise a refinish before we’ve seen the floor. Call (844) 972-2185 for an exact quote – estimates are free.
The schedule is set at your estimate based on the rooms, materials, and subfloor condition. It’s a booked job, not a same-day visit: you get a free in-home measure, a written price, then a scheduled install day. We don’t promise same-day installs or fixed arrival times. Call (844) 972-2185 to schedule your free estimate.
The Bottom Line
Prepping for a flooring installation in Henderson comes down to three things most guides skip: stabilize your home’s temperature before materials arrive, check your subfloor with a knee and a hand, and document existing damage with photos. Do those first, then work through the room-by-room checklist and clear furniture, appliances, and toilets as your estimate directs. Match the floor to the room rather than forcing one material everywhere. When you’re ready to move from planning to pricing, Floors Henderson makes it easy.
Call (844) 972-2185 to schedule your free estimate. We answer 24/7. Fast dispatch from 7am to 7pm, Sunday through Friday. We’re closed Saturday.
Written by the team at Floors Henderson.