
Last updated November 18, 2026
 Hardwood
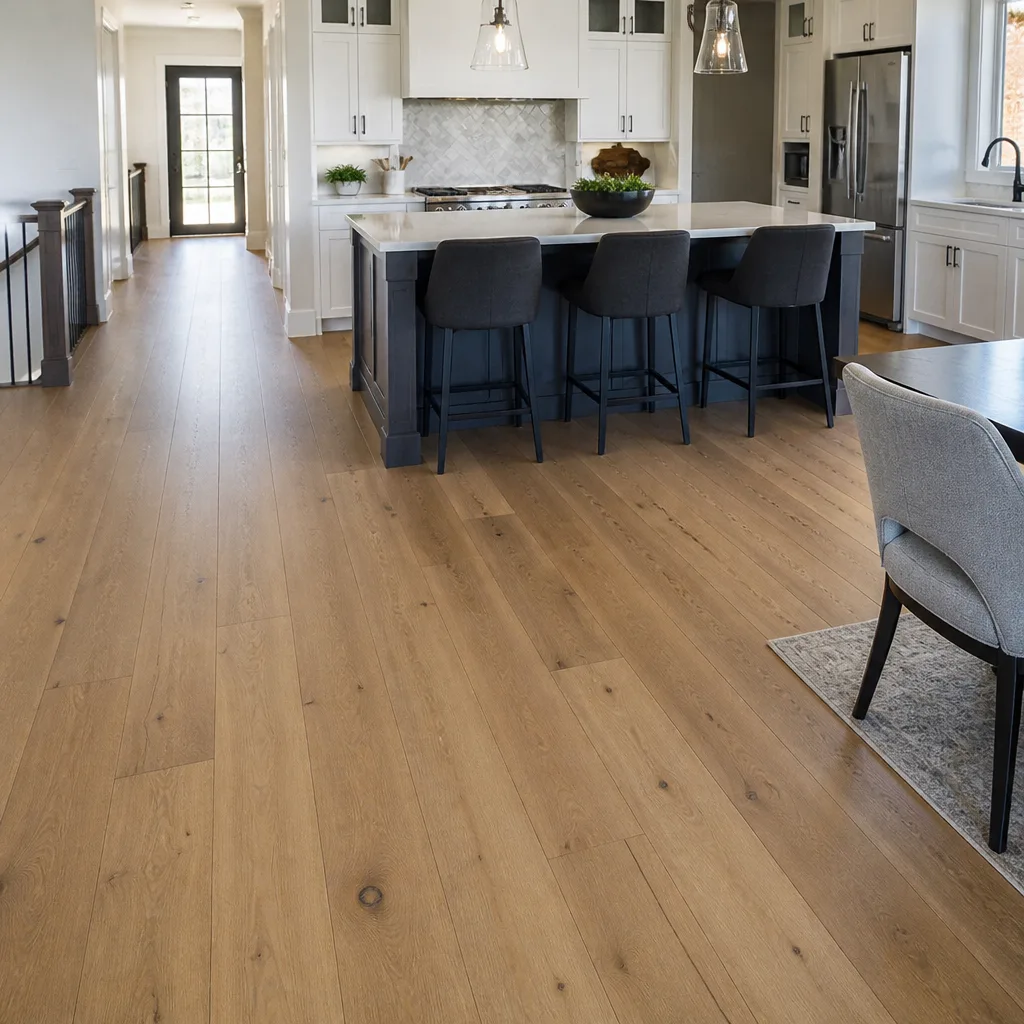 Engineered hardwood
 Luxury vinyl plank
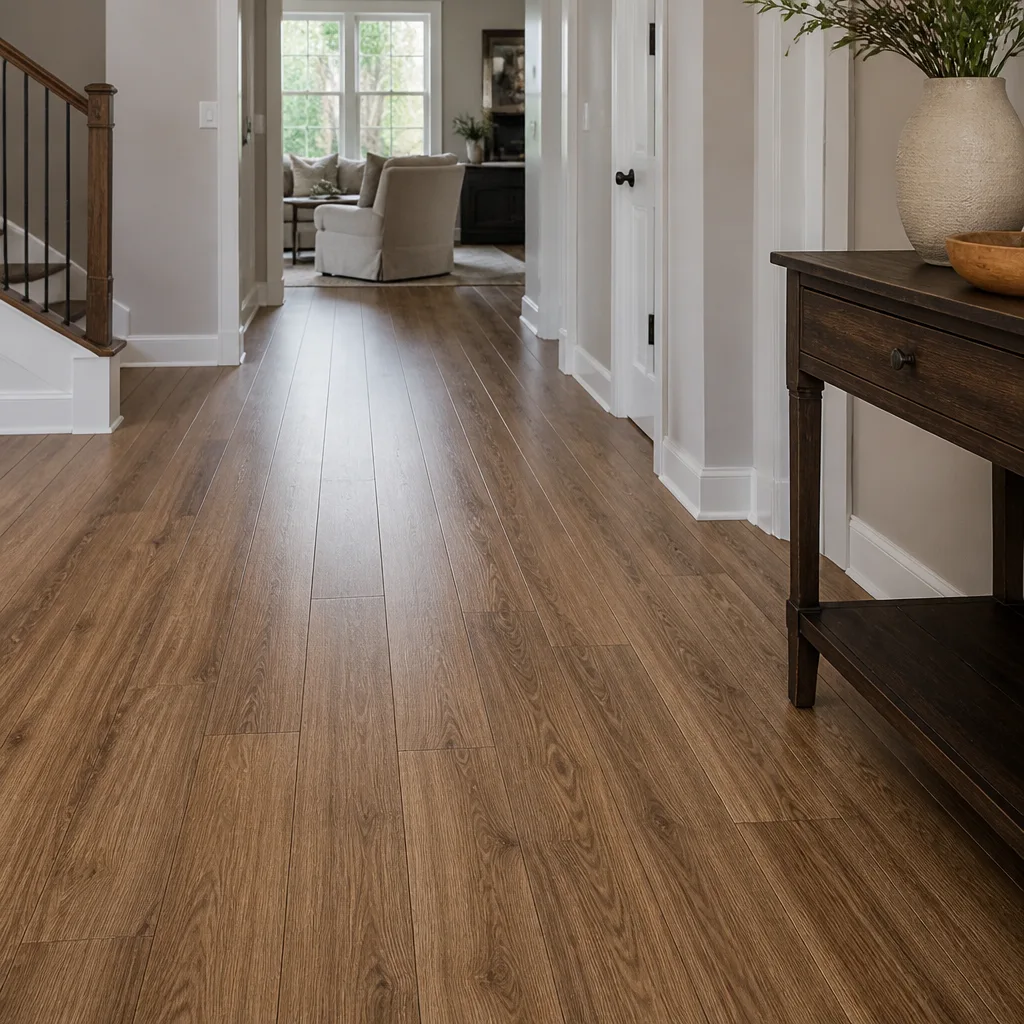 Laminate
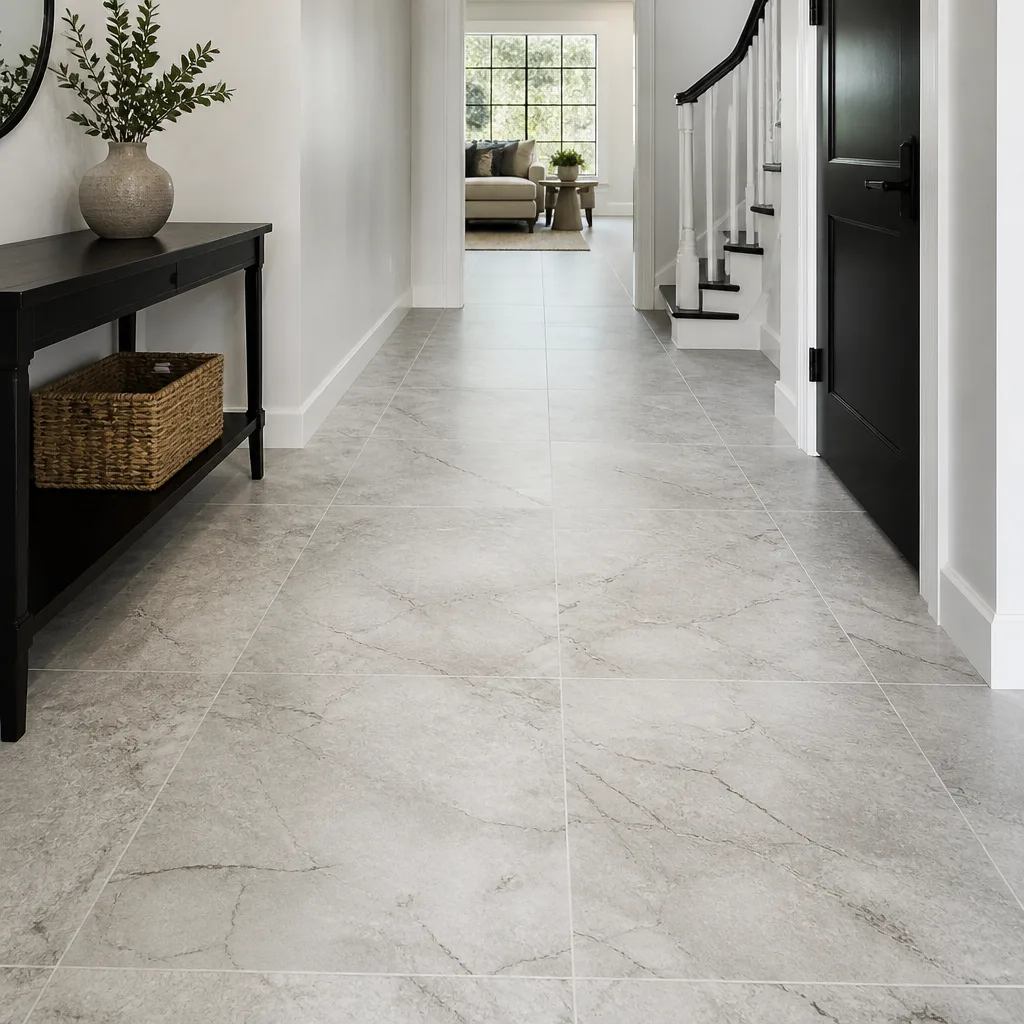 Porcelain tile
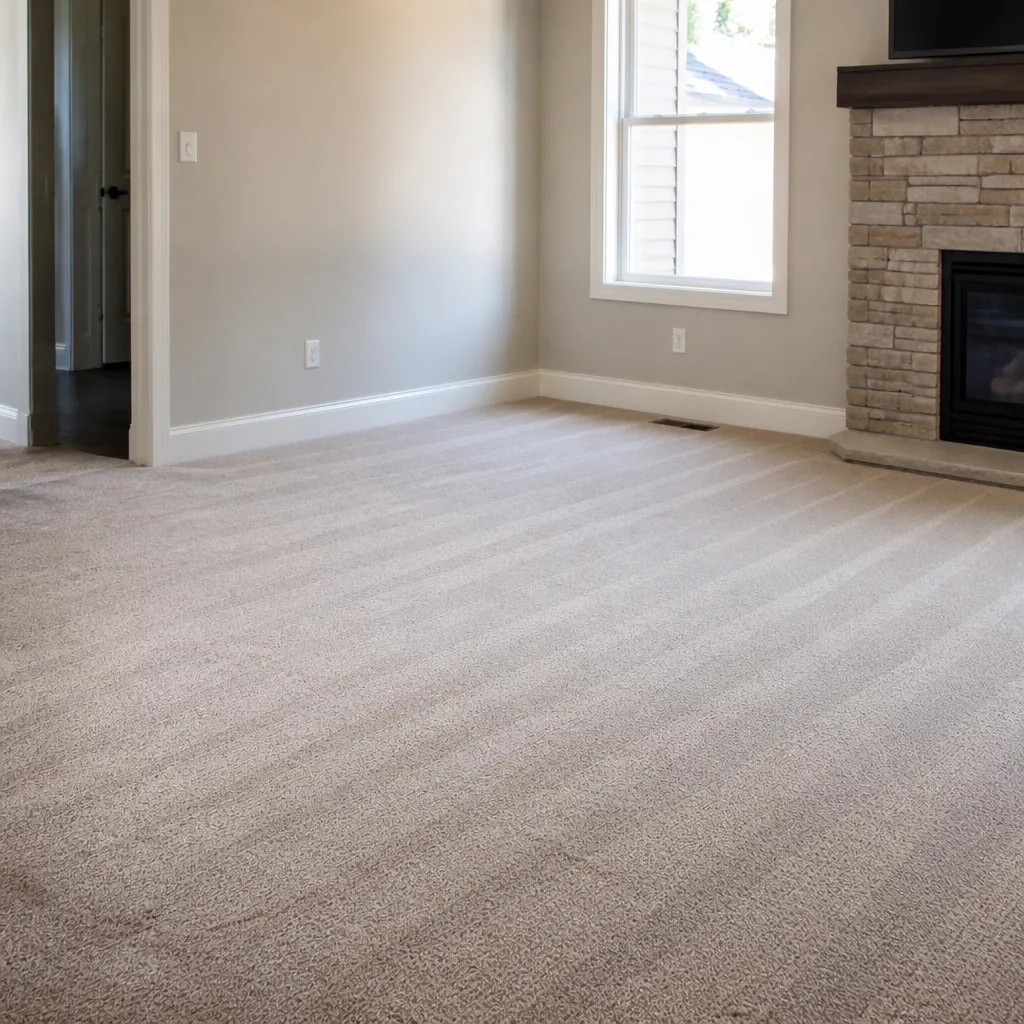 Carpet
 Shaw
 Mohawk
 COREtec
 Pergo
Free in-home measure and written estimate: Shaw, Mohawk, COREtec and Pergo lines compared on your own rooms, with carpet, tile, vinyl plank, laminate and hardwood laid out side by side
Get your free estimateSubfloors Explained: What Sits Under Your New Floor
Most Henderson homeowners choose a floor by looking at it. They run a hand over a plank sample, compare colors under the store lights, weigh carpet against tile. Almost nobody asks the one question that decides whether that floor still looks right in five years: what’s underneath it? The surface you walk on is only as good as the platform holding it up, and in Henderson that platform is usually a concrete slab poured over expansive clay soil that moves with the seasons. Get the subfloor right and everything above it lasts. Skip it and even premium materials fight a losing battle. This guide walks through the subfloor types you’ll find in Henderson homes, why flatness matters more than levelness, how our soil causes the cracks and gaps you may already be seeing, and what proper prep actually involves.
Quick Answer
The subfloor is the structural surface beneath your finish floor, and its condition decides which materials you can safely install and how long they’ll last. In Henderson, most subfloors are concrete slabs, and the critical spec is flatness rather than levelness: a slab has to be flat enough that a floating floor doesn’t rock, pop, or click. Moisture and slab movement affect the outcome as much as the floor you pick, which is why both get checked before installation starts.
Styles & brands we work with
- Hardwood
- Engineered hardwood
- Luxury vinyl plank
- Laminate
- Porcelain tile
- Carpet
- Shaw
- Mohawk
- COREtec
- Pergo
Table of Contents
- The Three Subfloor Types in Henderson Homes
- Flatness vs. Levelness: The Distinction That Decides Your Floor’s Fate
- How Henderson’s Clay Soil Moves Your Slab
- Moisture Testing on Concrete: Why Low Humidity Gives False Confidence
- What Subfloor Repair Actually Costs
- Feathered Skim Coat vs. Leveling Pour: How to Tell the Difference
- How Subfloor Type Changes Your Material Options
- The Prep Steps We Follow Before Any Installation
The Three Subfloor Types in Henderson Homes
What sits under your new floor depends on when and how your house was built, and Henderson offers three main scenarios. Each one changes what you can install and what prep it takes.
Concrete slab is the dominant subfloor across Henderson. Most single-story homes and many two-story builds here sit directly on a poured slab, which can be a great platform for flooring as long as it’s clean, dry, and flat. Slab construction also has real advantages: it’s stable, it doesn’t squeak, and it can hold tile directly with the right prep. The catch is that slabs move with the soil beneath them, and they can pass moisture upward without any visible sign.
Plywood over joists is rarer in Henderson stock, but you’ll still find it in some older neighborhoods and a number of second-story rooms. Wood subfloor gives you flexibility for hardwood nailing and many floating systems, but it introduces its own variables: joist spacing, panel deflection, and the condition of the panels themselves. A soft spot or a squeak underfoot usually points to wood, not slab.
Existing tile used as a substrate is a situation we see regularly in Henderson, especially in kitchens, entryways, and bathrooms where older ceramic is still in decent shape. Sometimes a new floor can go over it. Sometimes it has to come out. That decision depends on how the tile was bonded, whether it’s flat, and how the new floor’s manufacturer specifies its installation. There’s no shortcut here, which is why we inspect before we quote.
If you’re planning a whole-home re-floor, it’s common for a single Henderson house to have all three at once: slab in the living areas, wood upstairs, and tile in the wet rooms. That’s why Floors Henderson handles each room on its own terms instead of forcing one method across the whole house.
Flatness vs. Levelness: The Distinction That Decides Your Floor’s Fate
Most homeowners assume a subfloor has to be level. What it actually has to be is flat, and those two words mean very different things in flooring.
A floor that’s out of level can still be perfectly fine. Slabs settle on a grade, and a slight slope from one side of a room to another is common in Henderson homes and usually harmless. A floor that’s out of flat is a different problem. Flatness means the surface is even across its length and width: no high spots, no dips, no humps. When a slab isn’t flat, a floating floor rocks in the low spots, the click-lock joints work loose, and you end up with gaps and clicking underfoot within a season or two.
Here’s the practical difference, in plain terms:
- Levelness describes whether the floor tilts relative to gravity. Minor variations are normal and rarely a problem.
- Flatness describes whether the surface deviates from a straight line over a set distance. This is what determines whether a floating floor performs.
- High spots cause a rigid floor to pivot, which puts stress on joints and can crack tile.
- Low spots leave air under the floor, which creates bounce, rattle, and eventually joint failure.
We measure flatness before we commit to any rigid material, whether it’s luxury vinyl plank from Karndean or a large-format tile from Daltile. It’s a step most fast-turnaround installers skip because checking takes time and addressing it takes longer, but skipping it is exactly how a floor fails a year after install without any obvious cause.
How Henderson’s Clay Soil Moves Your Slab
Henderson sits on expansive clay soils, and clay has a habit of swelling when it takes on water and shrinking when it dries out. That movement translates straight into your slab, and from your slab into everything sitting on top of it.
What does that look like inside a house? The symptoms show up in predictable places:
- Grout cracks along the joints of a tiled floor, often running in a rough line above a slab crack.
- Floating floor gaps where planks have shifted apart at the seams as the platform beneath them moved.
- Squeaks or creaks in what should be a quiet floor, usually from contact between a floating floor and a high spot.
- Bounce or hollow spots that move underfoot as the floor loses its even contact with the subfloor.
- Doors that stick or gaps at baseboards as a slab shifts slightly and the room’s surfaces move with it.
What can be fixed: flatness, cracks, minor high and low spots, and loose tile. These are subfloor prep problems, and prep addresses them. What can’t be fixed by flooring work: ongoing structural movement of the slab itself, or soil conditions driving it. If a slab is actively heaving or the cracks are significant and widening, that’s an engineering question, not a flooring one, and we’ll tell you so plainly. We’d rather point you to the right professional than install a beautiful floor over a problem that’s going to reopen it. In our experience, most Henderson subfloor issues are the flat-and-fix kind, not the structural kind, but knowing which one you have is the whole game.
Moisture Testing on Concrete: Why Low Humidity Gives False Confidence
Henderson’s dry air is one of the best things about living here, and one of the most misleading when you’re planning a floor. Low humidity in the air does not mean low moisture in your slab.
Concrete holds moisture. It comes up from the soil under the slab through a process called vapor transmission, and it moves at its own pace regardless of what the air feels like. A slab in Henderson can read perfectly dry to the touch and still be releasing enough vapor to damage a moisture-sensitive floor after installation. That’s why surface dryness tells you nothing useful and why testing matters before certain materials go down.
For hardwood installation over concrete, a calcium chloride test is non-negotiable. It measures the actual rate of moisture vapor coming through the slab, and it tells us whether the slab is dry enough for the wood you want. Skip that step and you get cupping, crowning, or gapping in a floor that cost real money. No amount of visual inspection substitutes for it.
The same caution applies to adhesives and moisture-sensitive underlayments. We test before we commit to a method, and we match the method to the reading, not the other way around. If a slab needs more time before it’s ready, we will tell you that rather than gamble on your floor. When you ask us for a tile flooring installation, moisture is part of the conversation from the first visit, because tile is unforgiving over a wet slab in a way that a floating floor sometimes isn’t.
What Subfloor Repair Actually Costs
Subfloor repair is priced per job after inspection, because what needs fixing varies so much from room to room. What we can tell you is how the pricing is structured, so you know what you’re looking at when a quote arrives.
Most subfloor prep items fall into a few general categories:
- Minor crack filling and patching: typically a small line item within a larger installation estimate.
- Grinding high spots: labor-driven, priced by the amount of surface area and how much has to come off.
- Skim coating low areas: depends on square footage and depth.
- Full leveling pours or self-leveling underlayment: the largest line item, priced per square foot and by depth.
- Removing existing tile used as substrate: priced by the square footage and how hard the existing bond is.
- Moisture testing: a small line item typically folded into the prep portion of a quote.
What matters more than a number is whether the repair is on the quote at all. A bid that includes only material and labor, with no mention of flatness, patching, or testing, is telling you something. Either the prep isn’t happening, or it’s being assumed. Ask directly: “Is subfloor prep included, and what did you find when you checked flatness?” A straight answer tells you a lot about the estimate.
The written estimate sets the final price, so we put prep on paper as its own line, not hidden inside a per-square-foot number. If you want to see what that looks like for your home, Henderson homeowners can schedule a free estimate and get a written, itemized quote before any work begins. We don’t quote subfloor prep without looking at the subfloor, and no estimate is final until it’s in writing.
Feathered Skim Coat vs. Leveling Pour: How to Tell the Difference
A feathered skim coat and a proper leveling pour are not the same thing, and until you know the difference, it’s hard to tell whether your prep is being done or just being masked.
A feathered skim coat is a thin layer of patching compound smoothed over the surface to fill small dips and feather the edges of high spots. It’s the right tool for minor imperfections, and it’s often all a floor needs. It’s not designed to correct large low areas or significant flatness deviations, and it doesn’t have the depth or strength to carry a floating or tile floor over a real dip.
A leveling pour (self-leveling underlayment) is a poured compound that fills and builds up low areas to bring a slab closer to flat. It’s the right tool when a room has large dips or significant deviations across a wide area. It takes longer, costs more, and cures before the finish floor goes down.
How to tell which you got, or which a quote is proposing:
- Ask which method is specified, in writing, on the quote. Vague language like “floor prep included” tells you nothing.
- Ask what the flatness reading was before prep. If nobody measured, the prep was guesswork.
- Check the description of the prep area: a small patch is one line, an area treatment is another.
- Ask how the low areas were addressed. A skim over a genuine dip won’t hold a floating floor down.
The wrong method costs you the floor. We measure, photograph, and put the method on the estimate so you can see exactly what’s being proposed and why.
How Subfloor Type Changes Your Material Options
Your subfloor isn’t just a platform. It silently narrows or widens the list of floors you can install, and that’s one reason we recommend bringing us your room and your plan rather than only a floor sample.
On a flat, dry, clean concrete slab, the range is wide: nearly everything in our nine-brand portfolio can work, from carpet installation to tile to engineered planks from COREtec or Karndean, as long as the slab passes flatness and moisture checks. On a slab with flatness issues, the list narrows: some floating systems handle minor deviation, most don’t, and tile is less forgiving than vinyl plank. On a wood subfloor, hardwood and some nail- or staple-down systems open up, but deflection and joist condition matter. Over existing tile, the question is whether the tile is stable enough to stay and whether the new floor can be installed over it, which is a method question, not a preference.
We match the floor to the room, and the room includes what’s under it. That’s why we carry Mannington and Armstrong lines alongside premium vinyls like Karndean: the right answer changes depending on the slab you have, and we’d rather offer a floor that fits your subfloor than talk you into a floor your subfloor can’t support. Our technicians have up to 10 years of experience reading exactly these situations, and a category specialist can usually tell you within the first room visit what’s realistic.
The Prep Steps We Follow Before Any Installation
Subfloor prep is a sequence, not a single step. Here’s what a proper Henderson installation looks like when the subfloor gets the attention it deserves.
- Inspect the slab or wood subfloor. Look for cracks, loose areas, prior repairs, and evidence of moisture issues.
- Measure flatness. Take readings across the room rather than from a single spot, because flatness varies room to room.
- Test for moisture. For hardwood over concrete, run a calcium chloride test. For other moisture-sensitive materials, test as the product specifies.
- Plan the method. Decide between a skim, a leveling pour, or both, based on the readings and the floor being installed.
- Perform the prep. Grind high spots, patch cracks, apply the specified compound, and let it cure.
- Verify before install. Re-check flatness and confirm the prep performed as intended before the finish floor goes down.
- Install the floor. Follow the product’s written instructions for acclimation, expansion gaps, and fastening.
That last point matters: product instructions and the written estimate set the details, not guesswork. We follow both.
Common Mistakes to Avoid
- Skipping the flatness check on a fast-turn turnaround job. If nobody measured flatness, nobody knows if the floor will perform. In Henderson, slab deviations are common enough that checking is standard, not optional.
- Assuming a level-looking slab is a flat one. Slabs settle and shift, and a floor that looks fine from the doorway can have a low spot big enough to break a floating floor’s joints within a season.
- Trusting surface dryness in a low-humidity city. Henderson’s dry air makes a wet slab feel dry, and a calcium chloride test is the only real check for hardwood over concrete.
- Covering existing tile without checking its bond and flatness. Old tile can be a solid substrate or a trap, and the difference only shows up when the new floor moves.
- Accepting “prep included” with no method named on the quote. A vague line on an estimate is a sign nobody knows what they’re doing under the floor.
- Treating a skim coat as a leveling pour. A skim fills small dips; a pour corrects real low areas. Using the wrong one and hoping is how a floor rocks.
- Assuming a subfloor problem means structural trouble. Most Henderson subfloor issues are flatness and prep, not foundation issues, but it’s worth asking directly so you know which one you have.
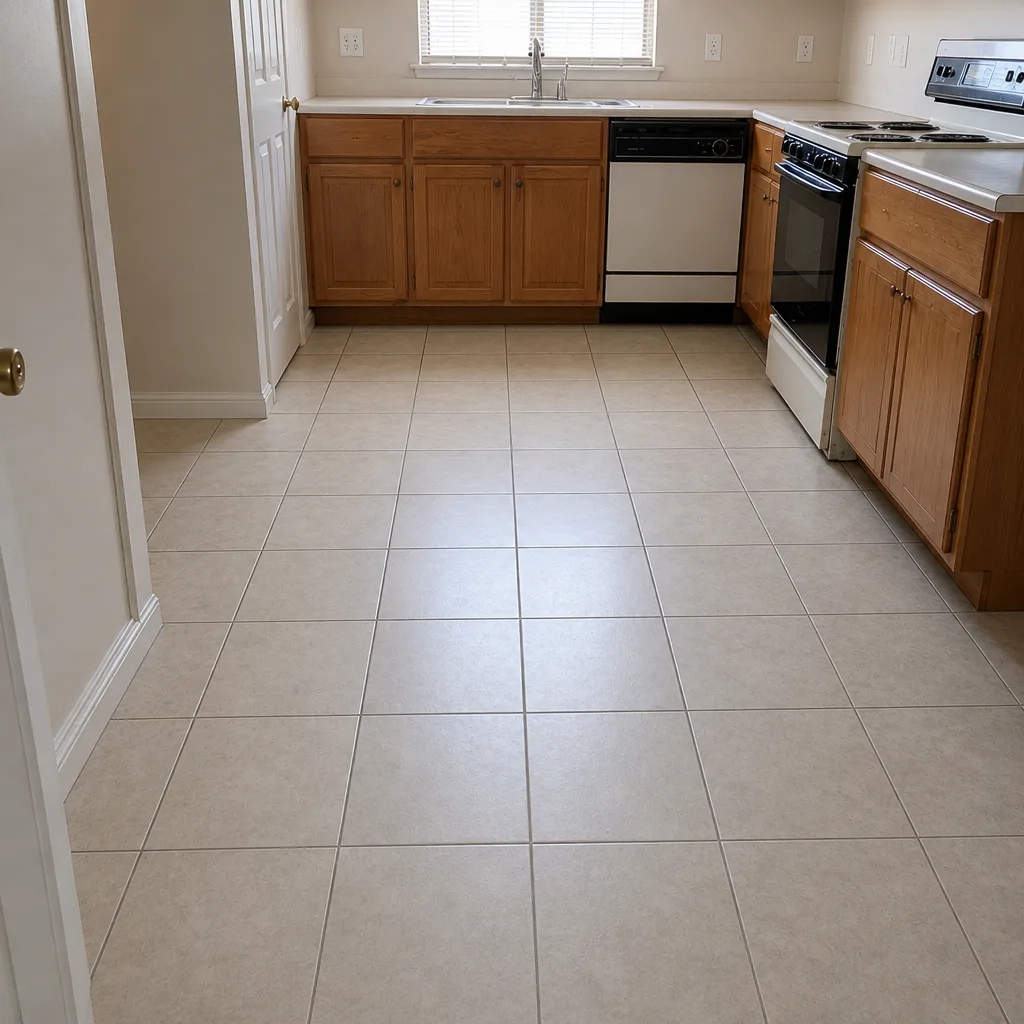
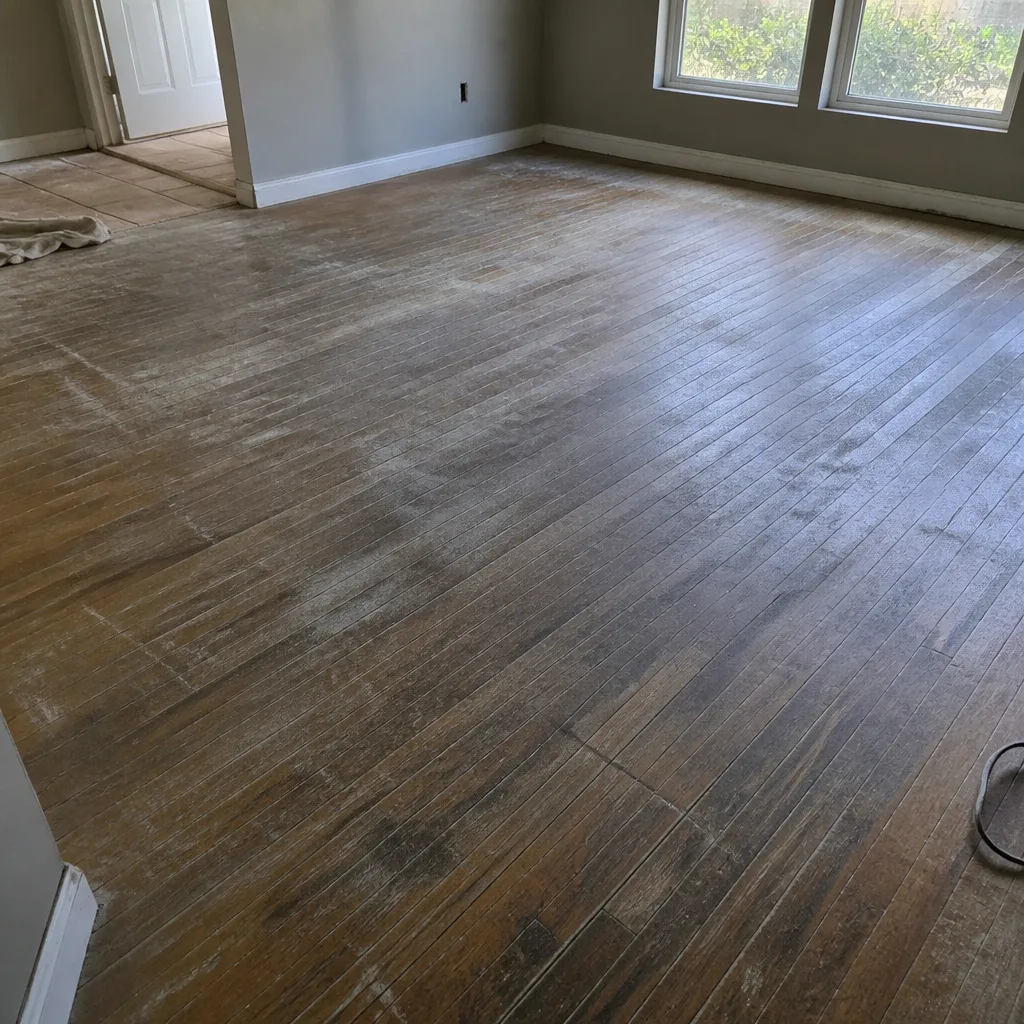
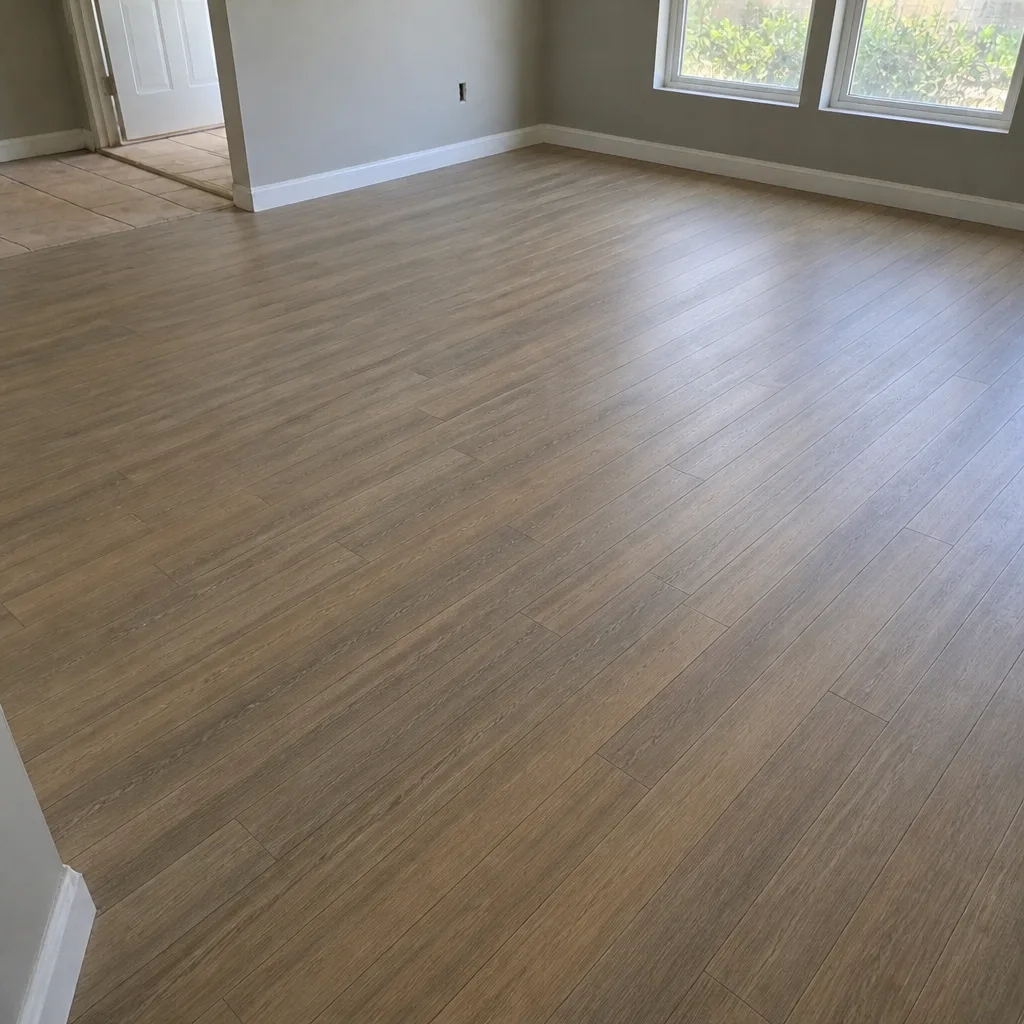
See the difference
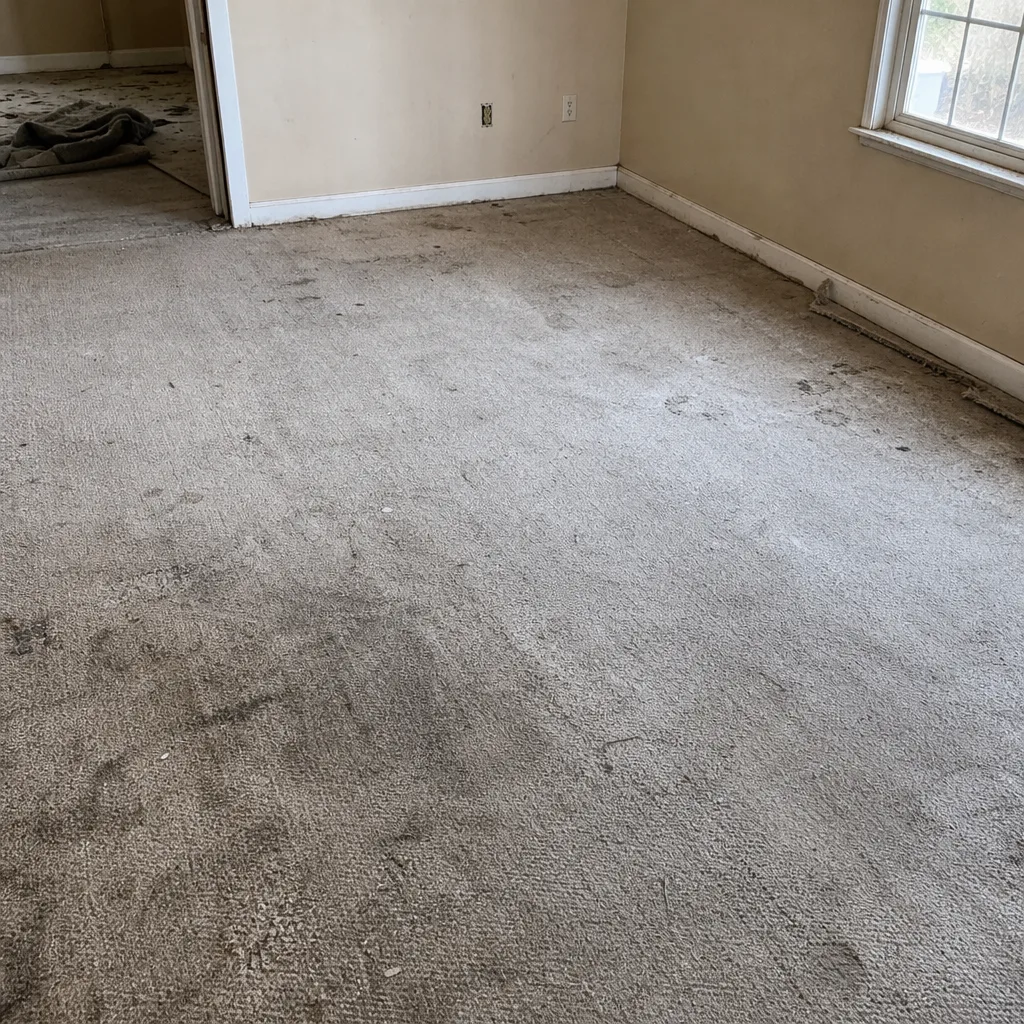 Before
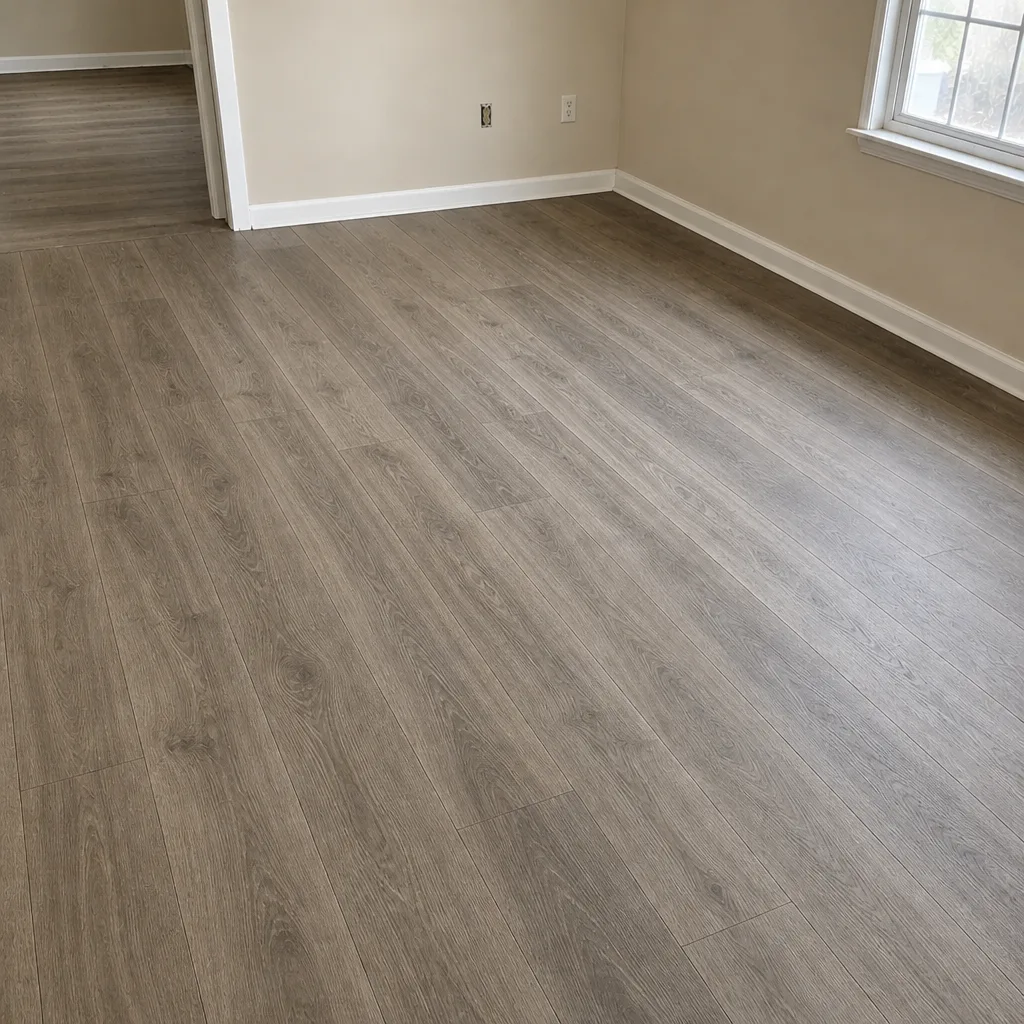 After
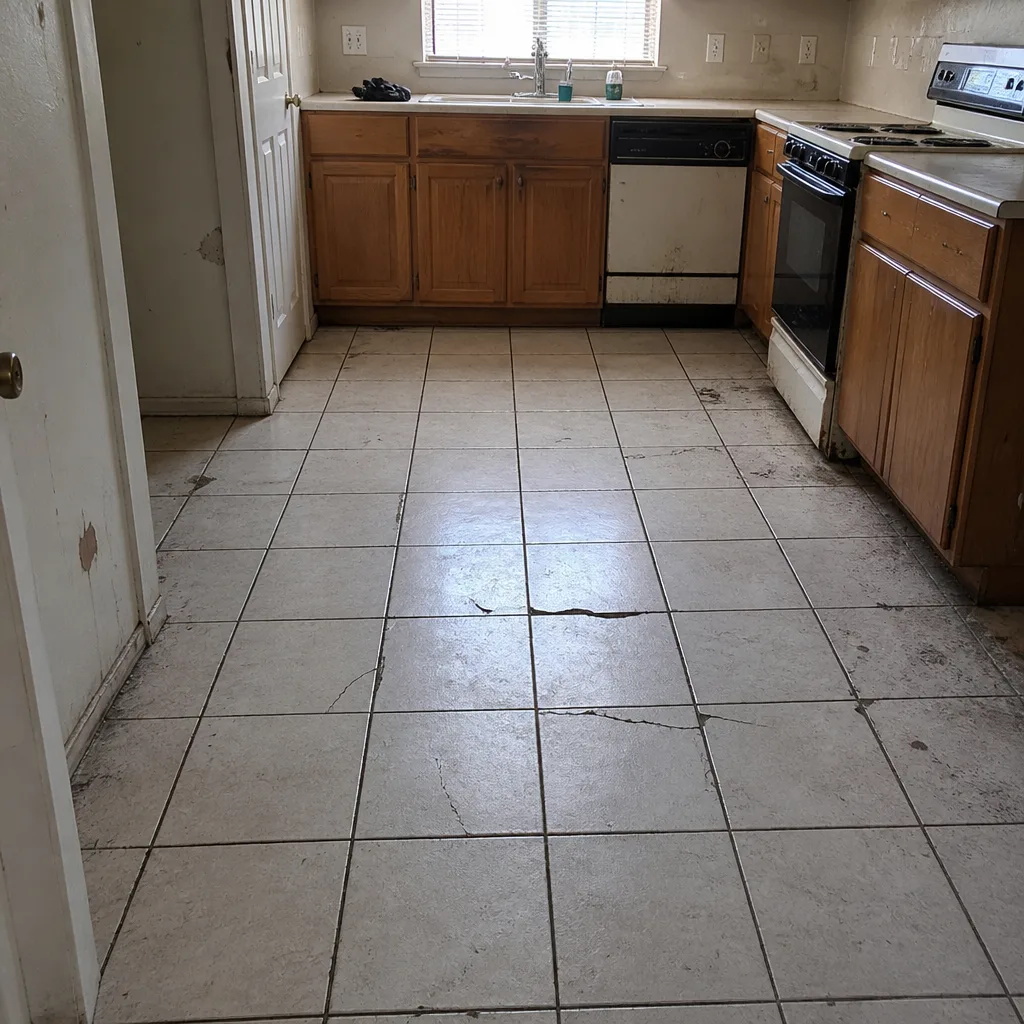 Before
 After
 Before
 After
When to Call a Professional
Some floor jobs are simple, and some are subfloor jobs wearing a floor’s clothing. Call a professional when you’re planning a floating floor over a slab you haven’t measured, when you’re installing hardwood over concrete without a moisture test, when you’ve noticed grout cracks or floating floor gaps appearing over time, or when a quote describes “prep included” without saying what prep means. Those are signs the subfloor needs a real look before a floor goes on top of it. Tile over a suspect slab, tile removal, and any room where the floor rocks or bounces all belong in the same category. Floors Henderson offers free estimates in Henderson. Call (844) 972-2185. We answer 24/7. Fast dispatch from 7am to 7pm, Sunday through Friday.
Frequently Asked Questions
A subfloor is the structural surface beneath your finish floor, usually a concrete slab in Henderson homes. It matters because the finish floor’s performance depends on the platform under it: flatness, moisture, and stability all come from the subfloor, and problems there show up above even when the floor itself is fine.
Flat enough that a floating floor doesn’t rock, which is measured across the room rather than from a single spot. Every material has its own flatness tolerance, and the product instructions set that number. We measure before we commit to a material, and we’ll tell you what your slab reads. Call (844) 972-2185 to schedule a free estimate, and we’ll inspect and measure before quoting.
No. Low humidity in the air doesn’t mean low moisture in your slab, and concrete releases moisture vapor from the soil regardless of the weather. For hardwood over concrete, a calcium chloride test is non-negotiable because surface dryness gives false confidence. Call (844) 972-2185 for an estimate that includes real testing before any moisture-sensitive floor goes down.
Sometimes, and sometimes not. It depends on how well the existing tile is bonded, whether it’s flat, and what the new floor’s installation instructions allow. We inspect first, because guessing here is how new floors fail. Call (844) 972-2185 and we’ll tell you what your tile situation allows before you commit to a plan.
Not always. Shrink cracks and minor surface cracking are common in Henderson slabs and usually addressed during subfloor prep. Cracks that are wide, growing, or offset across the slab deserve a closer look, and we’ll tell you plainly whether what we see is a flooring problem or something worth having an engineer review.
It’s priced per job, and the written estimate sets the final price. Minor crack filling and skimming are usually small line items, while full leveling pours on large low areas are the biggest single item. The number that matters most is whether prep is itemized at all. Call (844) 972-2185 for a free estimate with prep spelled out.
The Bottom Line
Your subfloor is the decision that most changes how happy you’ll be with a new floor years down the line, and it’s the one homeowners think about last. In Henderson, that usually means a concrete slab: check flatness before anything rigid goes down, check moisture before hardwood goes down, and know how your clay soil can move a slab over time. Most subfloor issues are fixable with the right prep, and the right prep is always the same: measure, test, and put the method on paper. Choose the floor for the room, but choose the prep for the subfloor. That order is the whole game.
Ready to plan your next floor? Call Floors Henderson at (844) 972-2185 for a free estimate and a written quote that includes the subfloor work, not just the finish floor. We answer 24/7. Fast dispatch from 7am to 7pm, Sunday through Friday.
Written by the team at Floors Henderson.